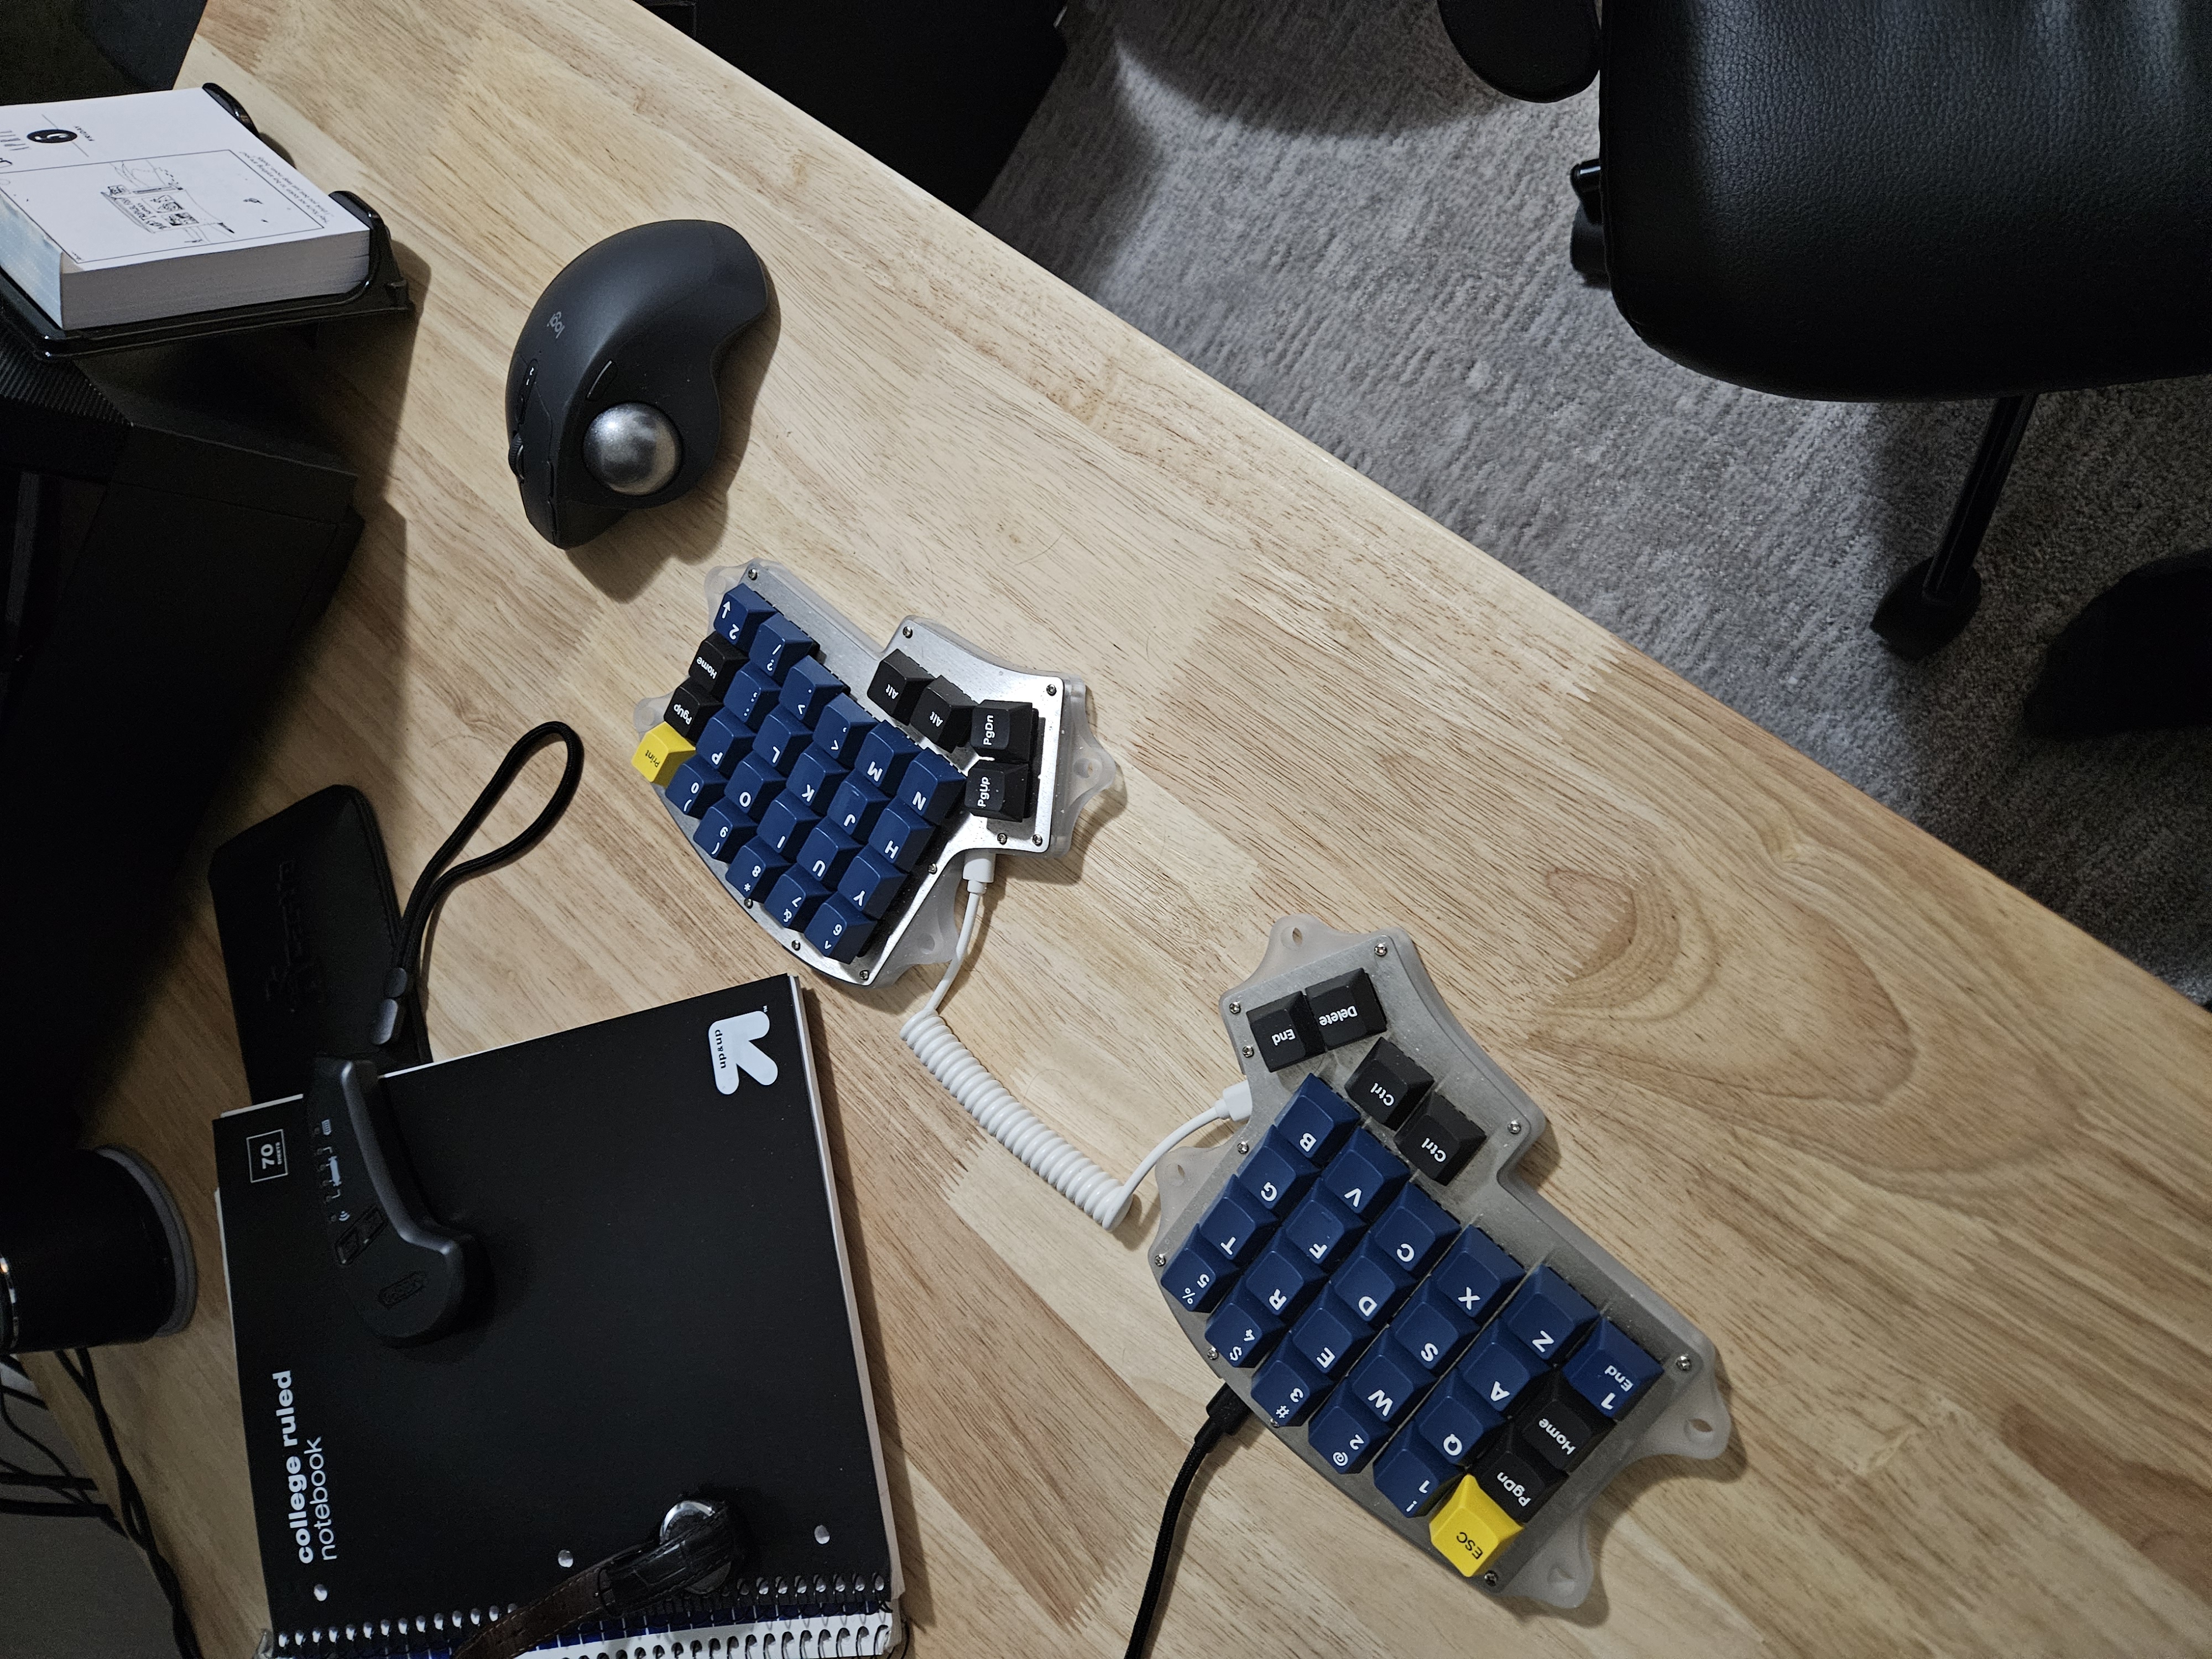
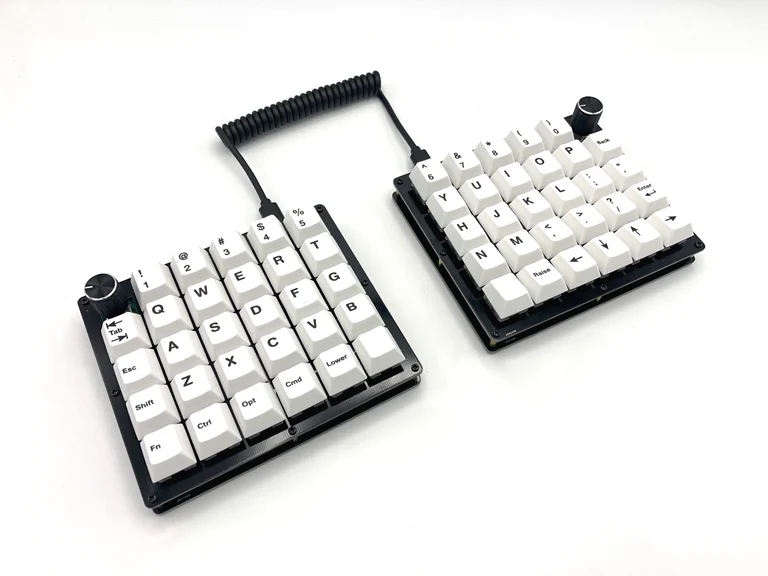
Recently I have been wanting to tailor an ergonomic split keyboard exactly to my needs and move towards my vision of an ideal keyboard, as I have been using the Keebio Iris Rev. 5 for a few years now and was looking for some change. The Iris is truly an amazing keyboard that I would reccomend to many people, but some of my main issues with it include:
Normal (not low profile) Cherry switches
I have found over the years that I truly prefer low-profile feel and ergonomics to the standard profiles
56 keys, when I only found myself using 40 or less
Many keys were pretty much unused, in inconvienent spots, and just added unnecessary bulk in general for me. I much prefer symbol and function layers rather than trying to fit everything on a main layer with lots of reaching.
Thumb keys
This is a very personal opinion on a polarizing topic, but I have found dedicated thumb keys(eg. not part of the main grid, angled, etc.) to actually be pretty uncomfortable. Unless the thumb keys are completely molded to the shape and preference of my hands after many revisions, I find them hard and painful to fully use them all of the time. A good thumb key position is nice, but any variation besides perfect too often is very uncomfortable.
Completely wired
I’m a big fan of wired tech in general, but I find that wireless on keyboards reduces complexity significantly, improves my experience, and subjectively comes with better software(wireless is usually ZMK rather than QMK firmware).
Column stagger
While the Iris does have some column stagger, it is not as extreme as some boards that I have seen before, but regardless I find that I prefer ortholinear without column stagger due to the issues I discussed regarding thumb keys, of how the design not being tailored to your hands(which requires a lot of effort, even if you are already designing a custom keyboard) can easily lead to many ergonomic issues personally.
Just general complexity
The Iris features tenting holes, complex RGB backlighting, an acrylic case, etc., which I found that I did not really use any of these at all(my RGB configuration is solid white, anything else is distracting).
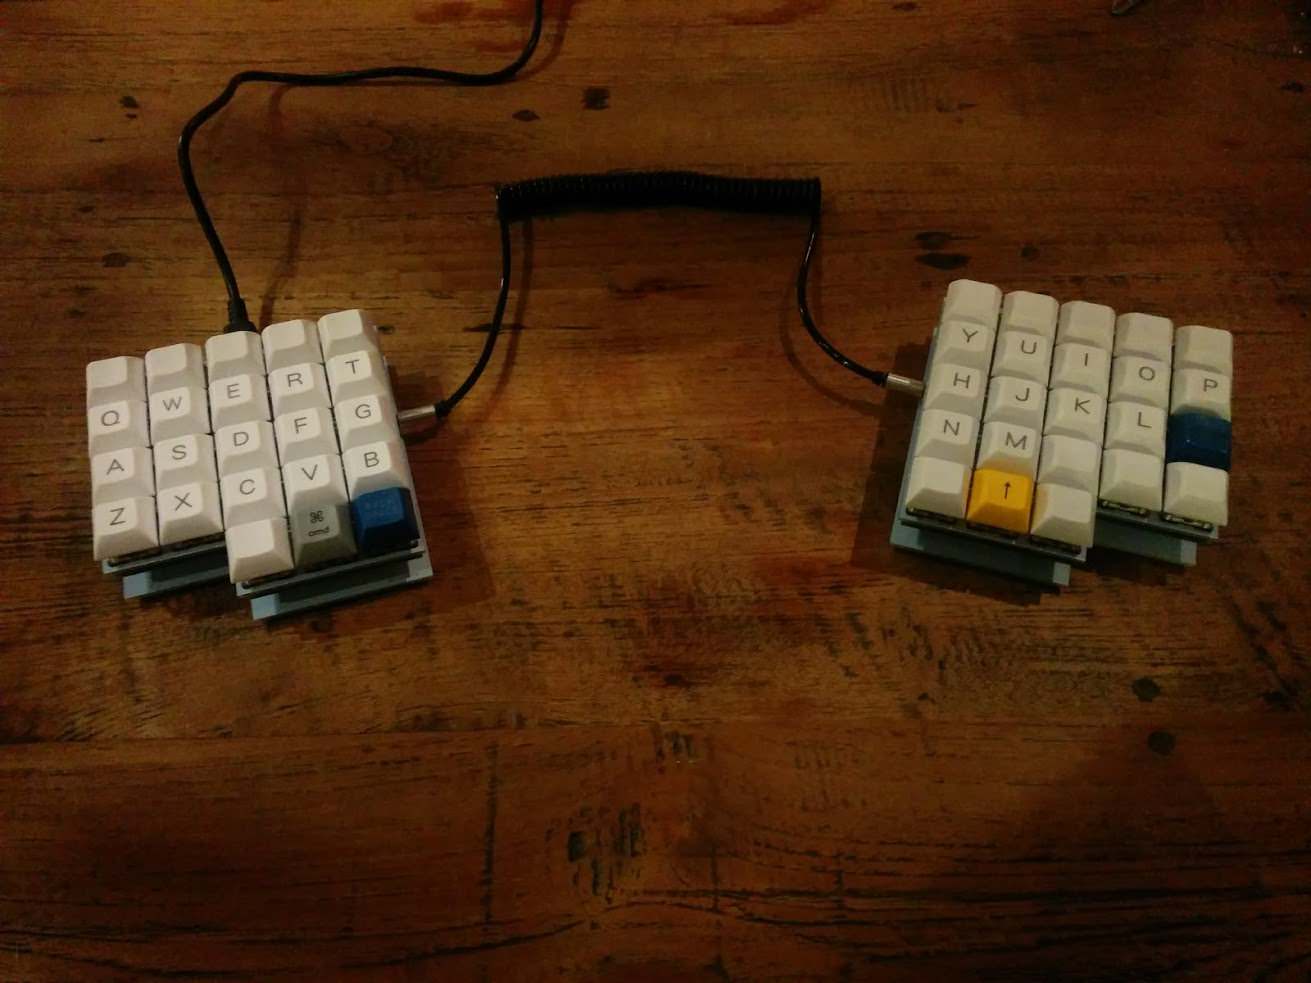
Iris Rev. 5 - Click to open image gallery
I’m sure most users would greatly prefer more features, more keys, and are fine with minor annoyances, but I found that If I were to be using one keyboard constantly for multiple years or longer, I would want it to be as tailored to my preferences as possible.
And anyways, designing and building a custom keyboard is a lot of fun.
Design
I did not start the project by jumping straight into the PCB or details right away, rather for such a project I decided that the best way to go forward with it would be to write a design document first, outlining the must-haves as well as the features that I certainly did not want to include, here is a basic summary of it:
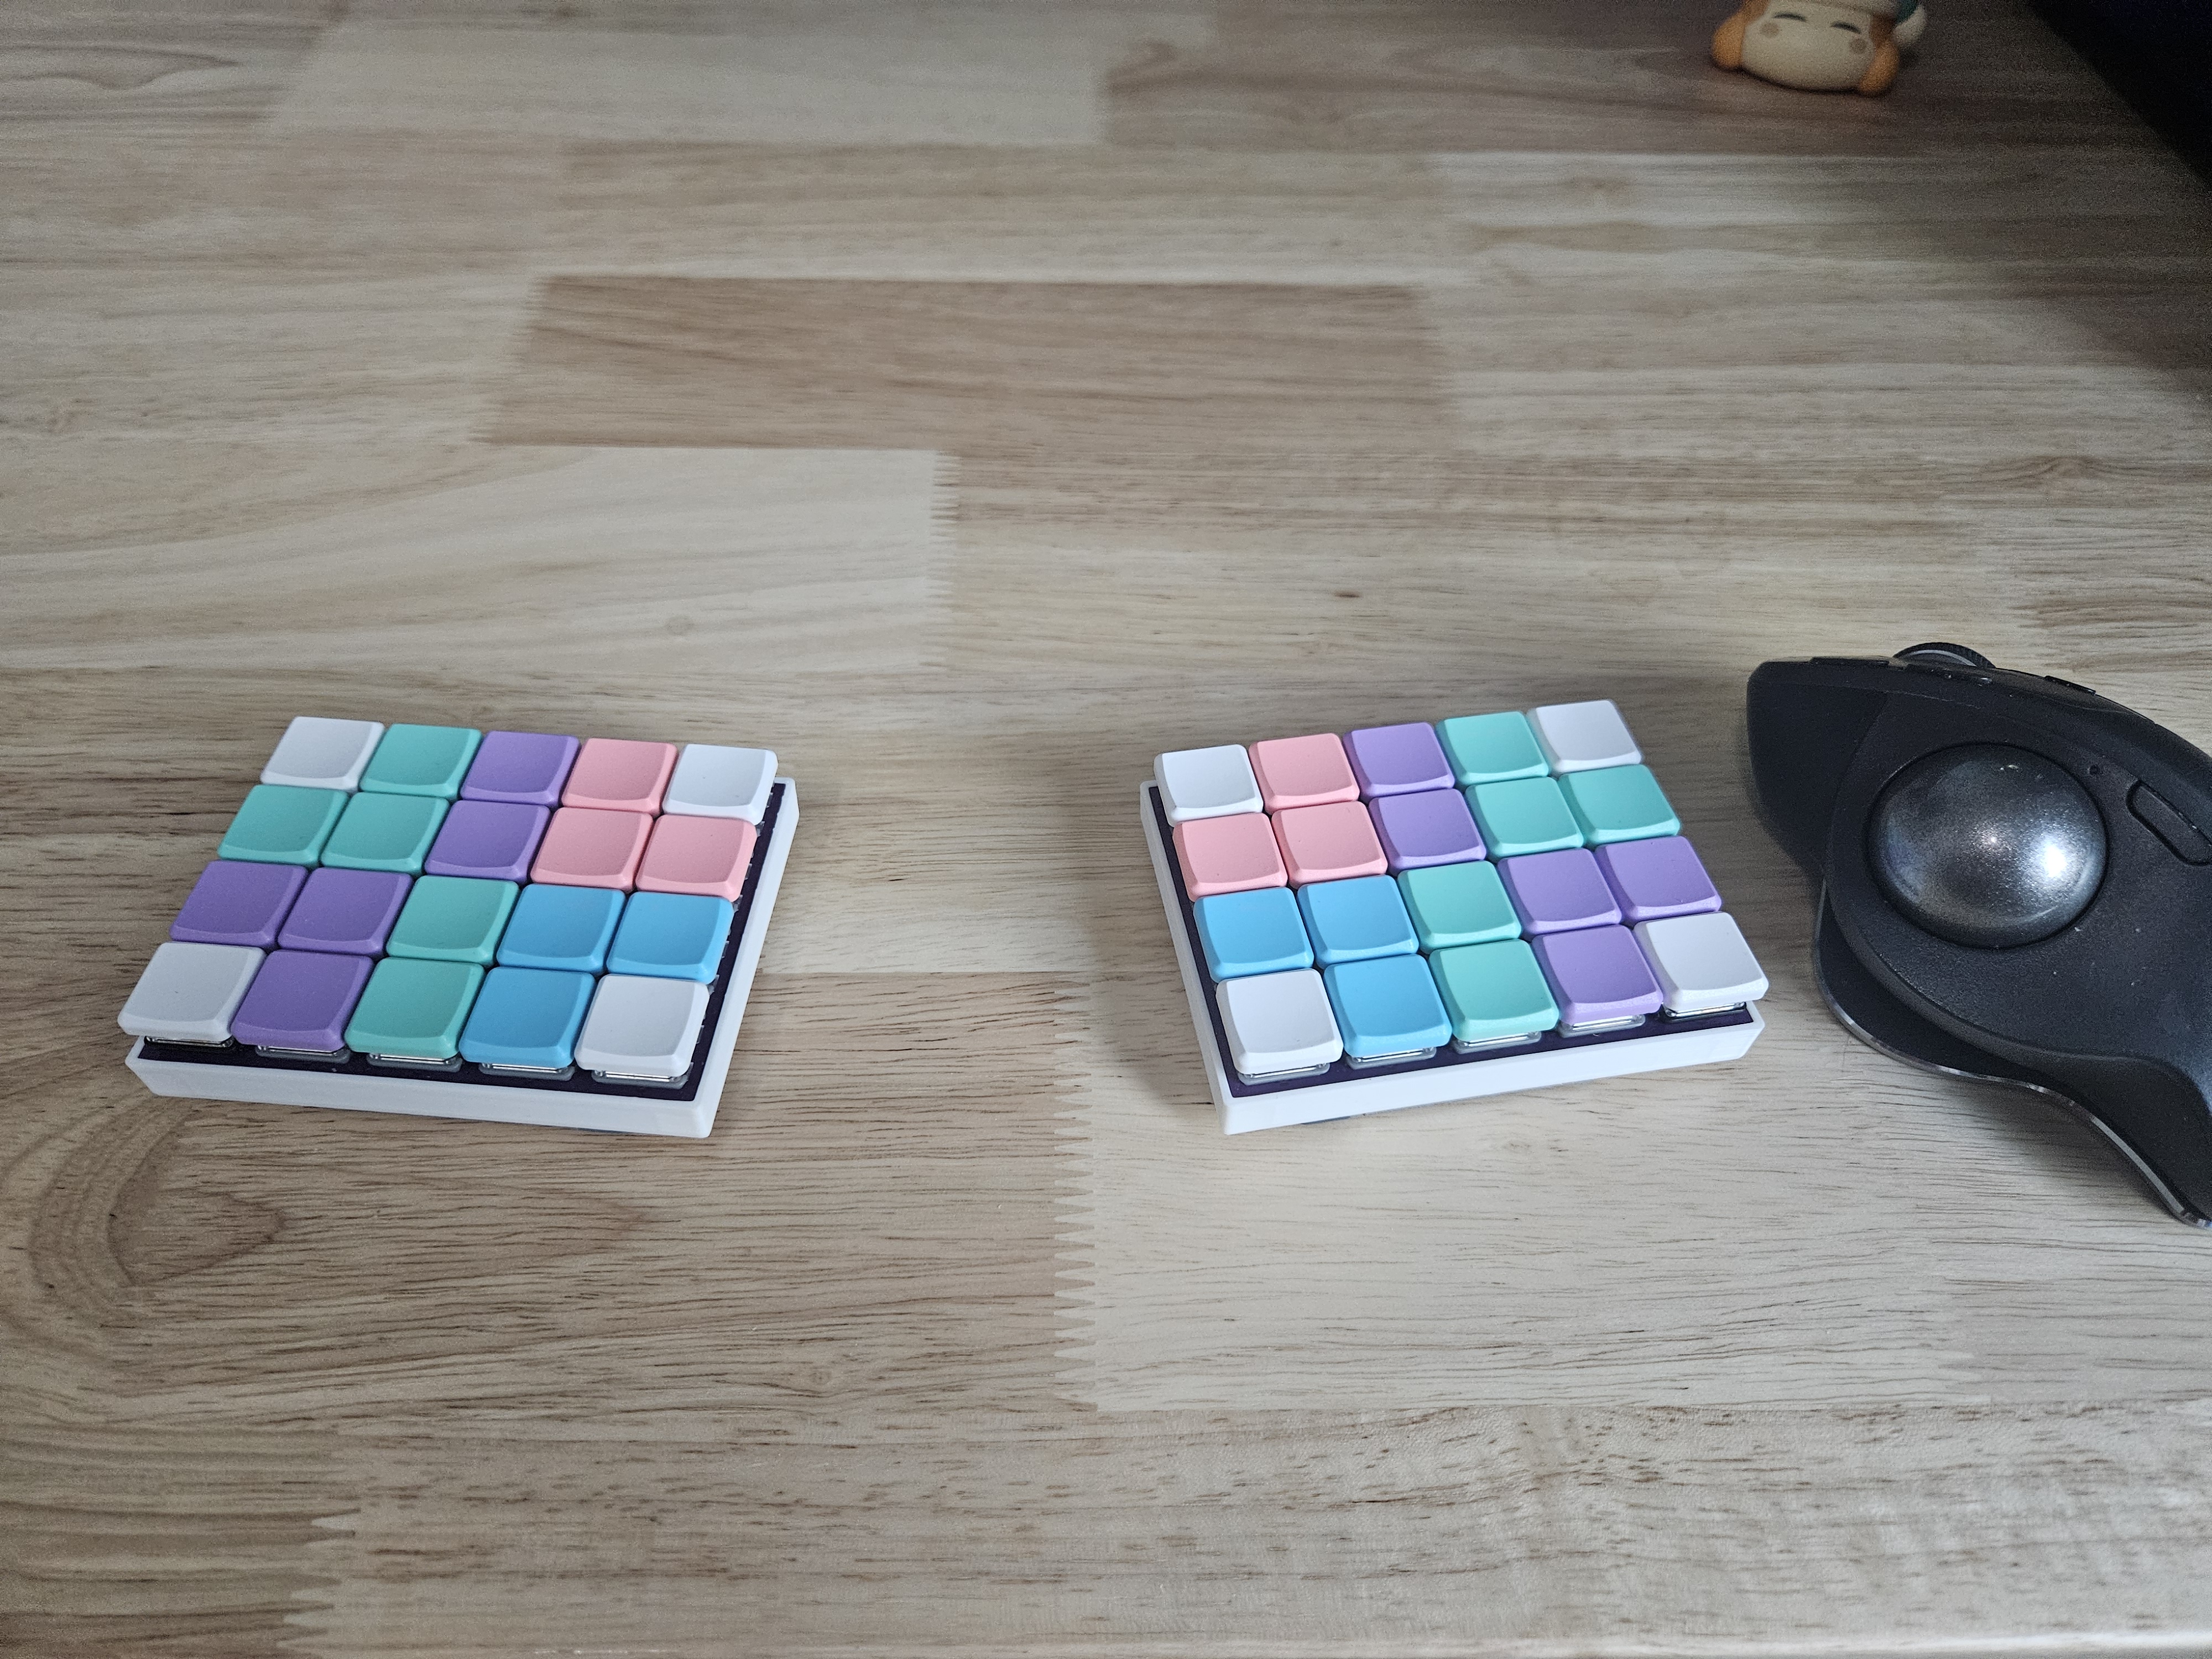
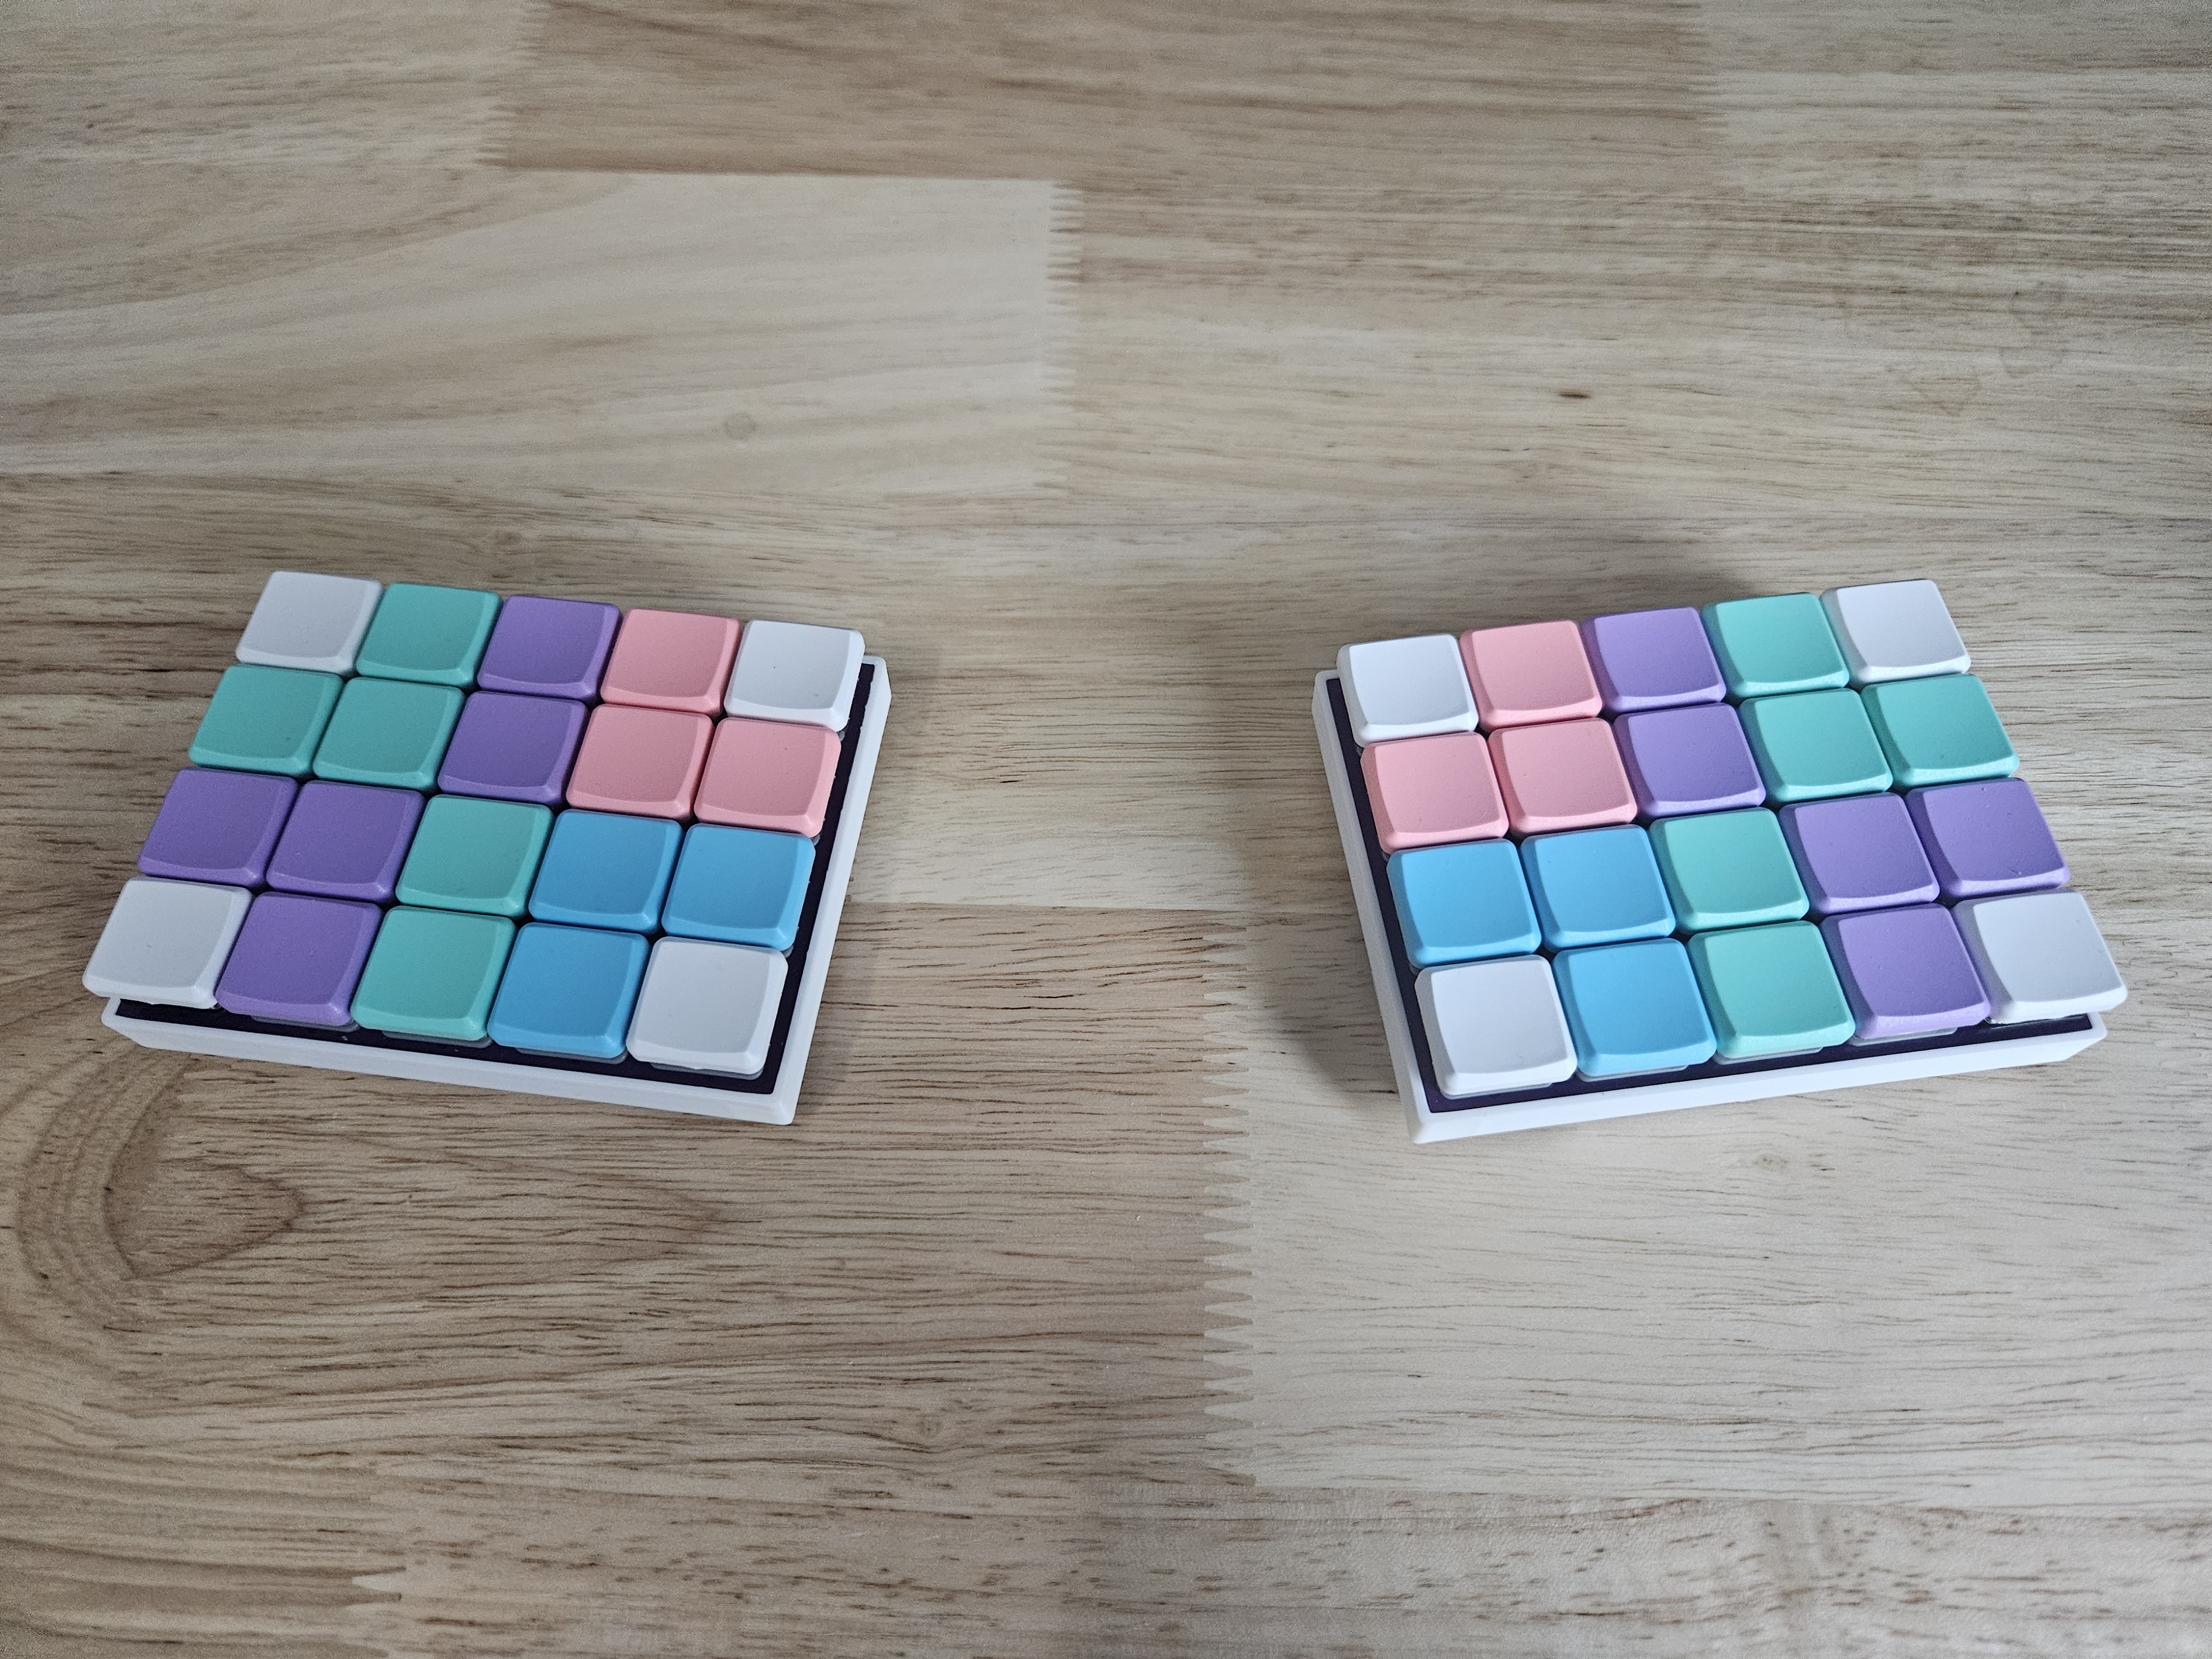
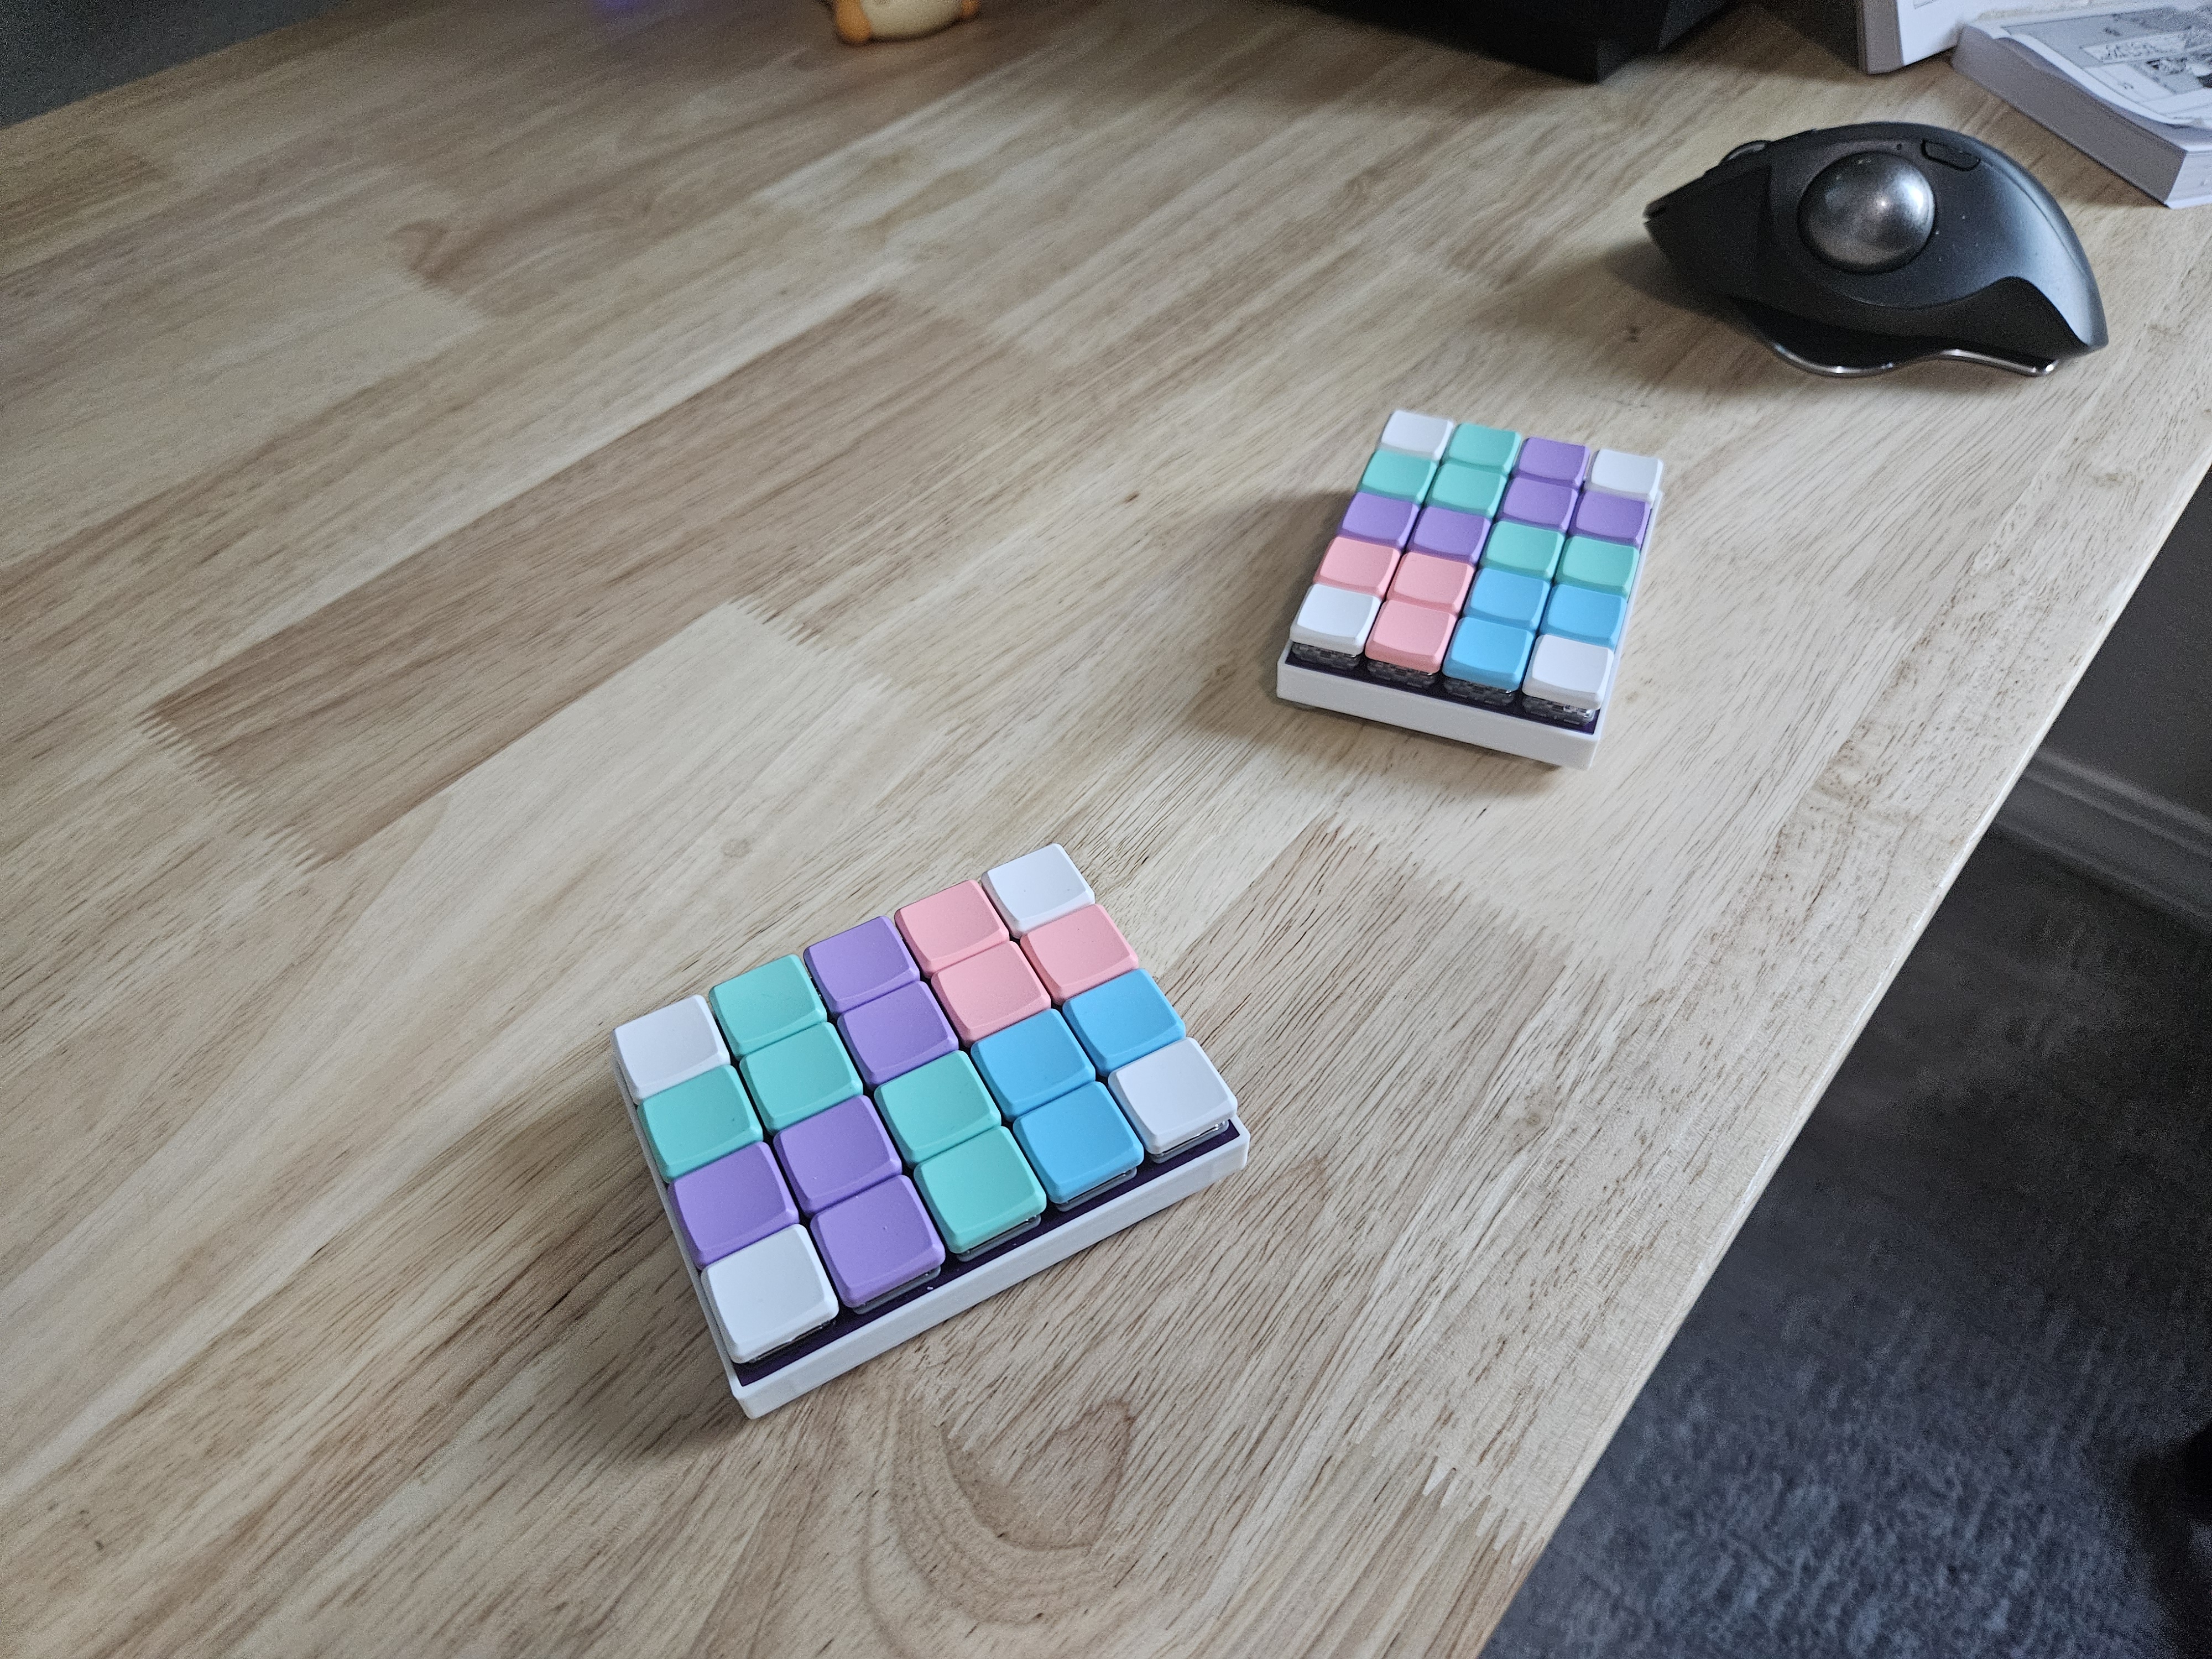
Macropad like feel and design - rectangular grid of keys
Low profile Choc switches with MBK keycaps
Ortholinear, no column-stagger, all keys should be 1u
5 columns with 4 rows, 20 keys each side, total 40 keys
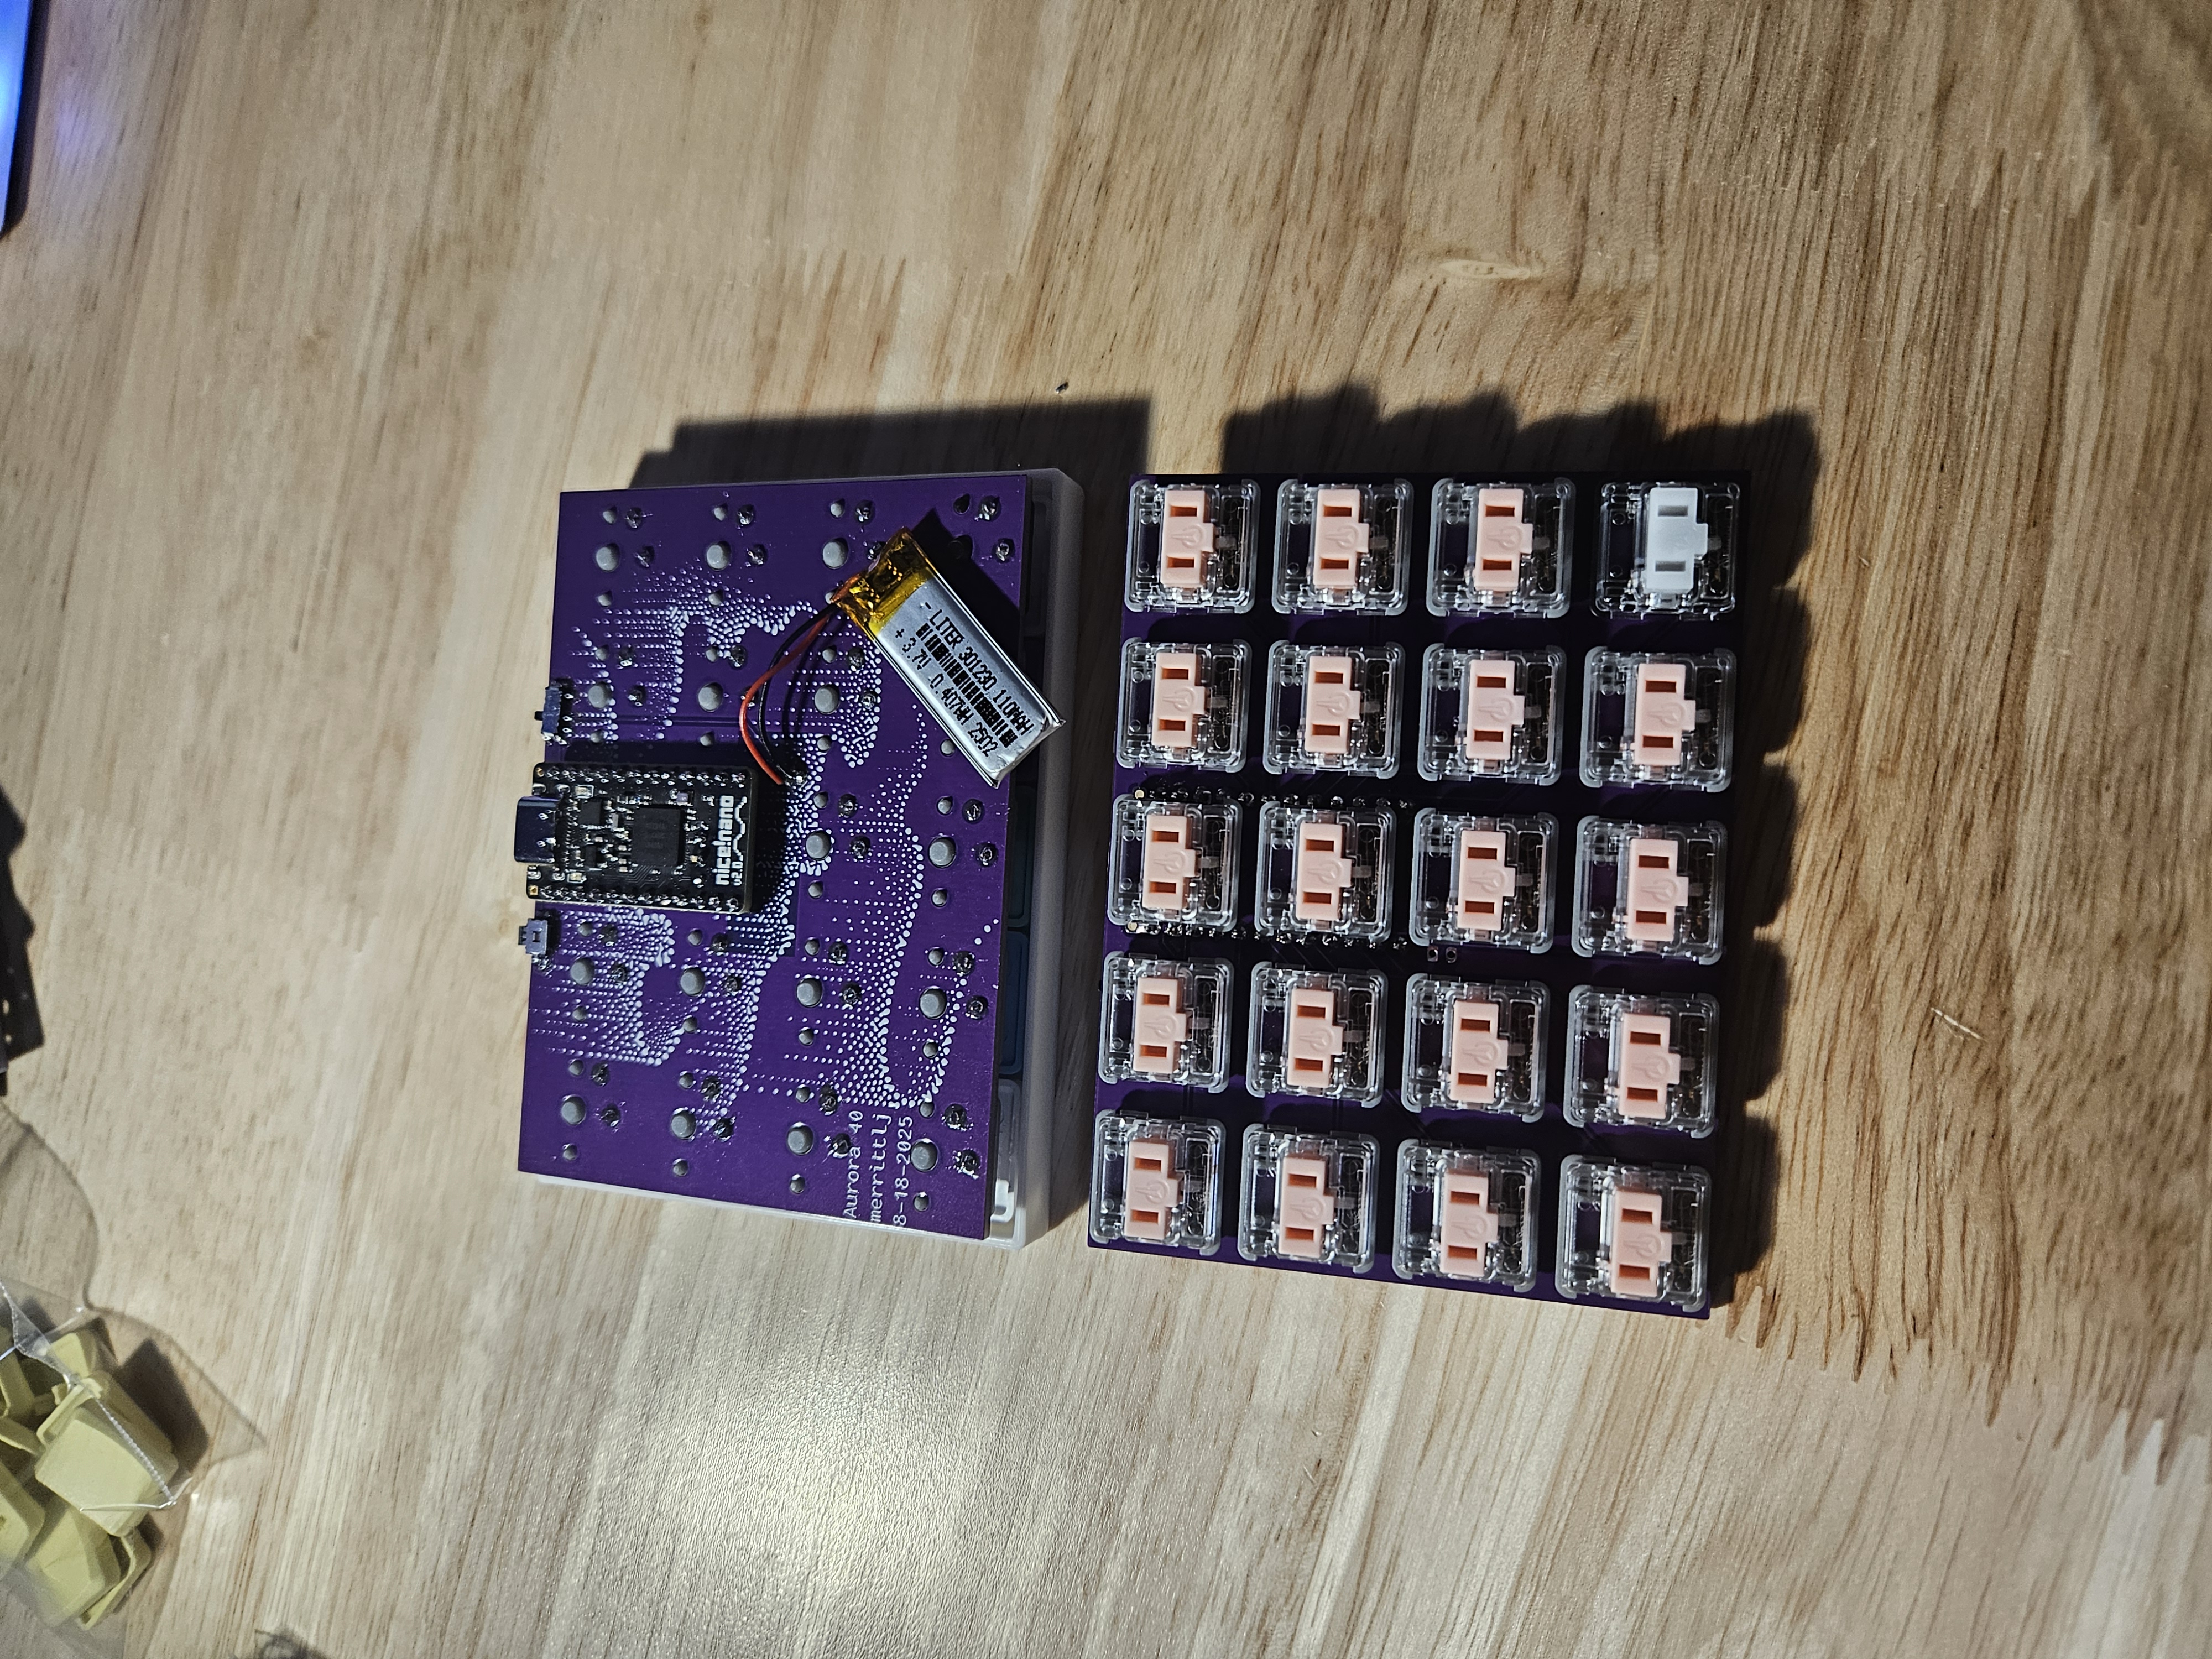
Wireless with nice nano v2
No rgb or backlight
Include power and reset buttons(instead of shorting pads for reset)
No hotswap - hotswap adds complexity and requires a plate, I have never used hotswap on other boards
No screens, rotary encoders, sliders, trackball, etc.
This gave me a clear mental picture of what I would have to do at each of the stages of building the keyboard, and also prevented me from having to do large redesigns if I decided halfway through a design to change a fundamental thing about the keyboard; I would highly reccomend to create a design document, no matter how simple or small the project is, as this initial investment sped up my progress significantly.
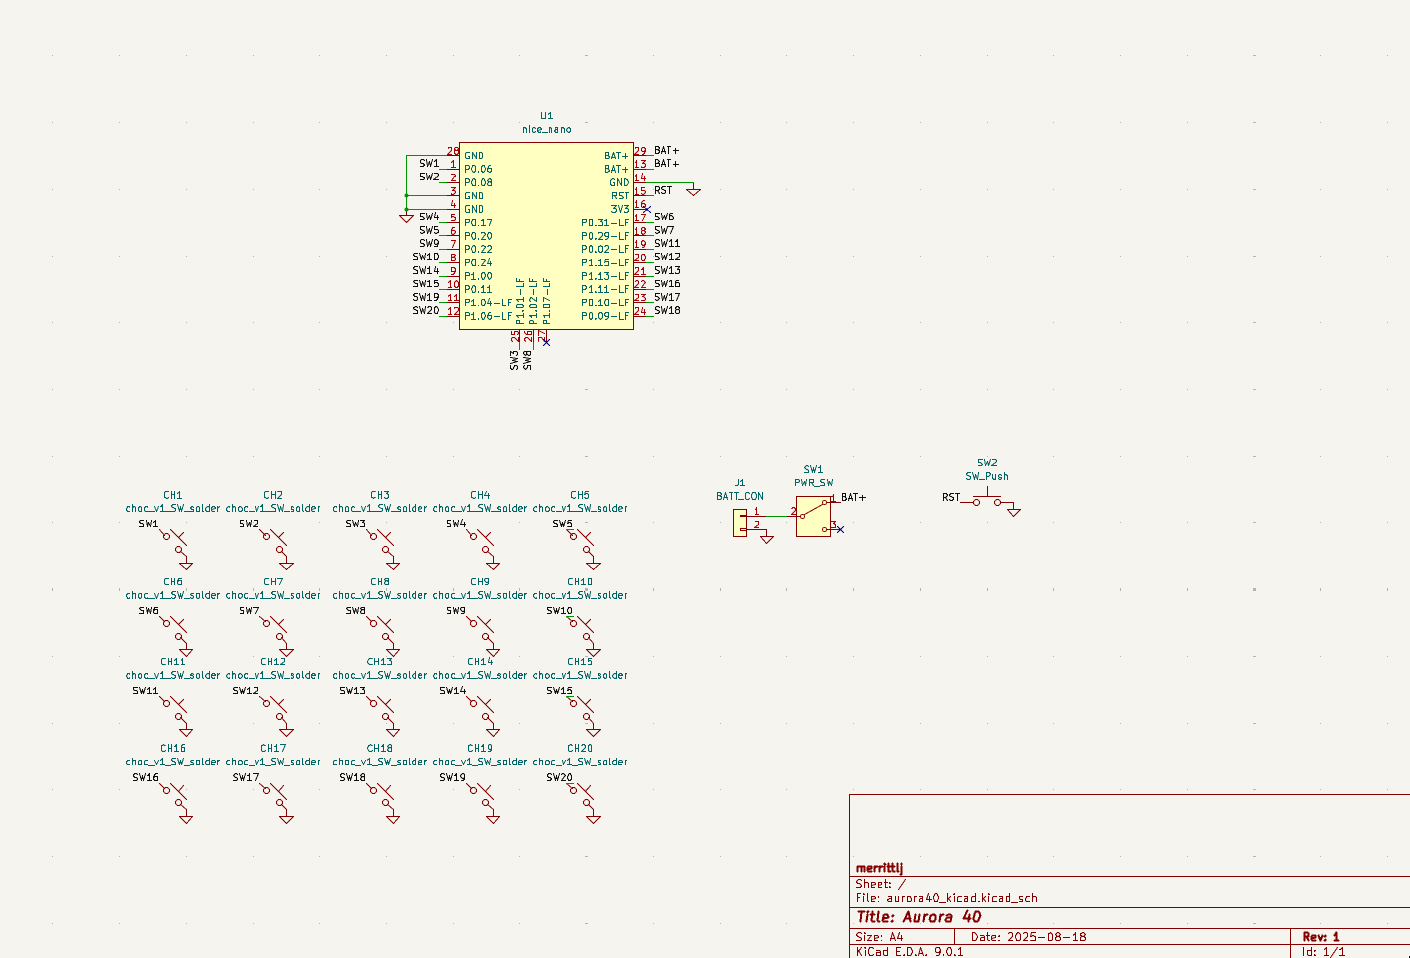
Initially I looked into ergogen and the wonderful support and community around it, I think that it is really a great project, but for my situation and knowledge(previous experience with designing complex PCBs and such), I found it much easier to simply use Kicad. Although I may be somewhat biased due to my experience within it, I truly think that designing a keyboard PCB from scratch in an EDA is much less complex and overwhelming than it may seem at first. The schematic itself is very rudimentary(and can be essentially entirely based on existing reference designs), and a keyboard PCB is dead simple; no need for much thought in placement or routing.
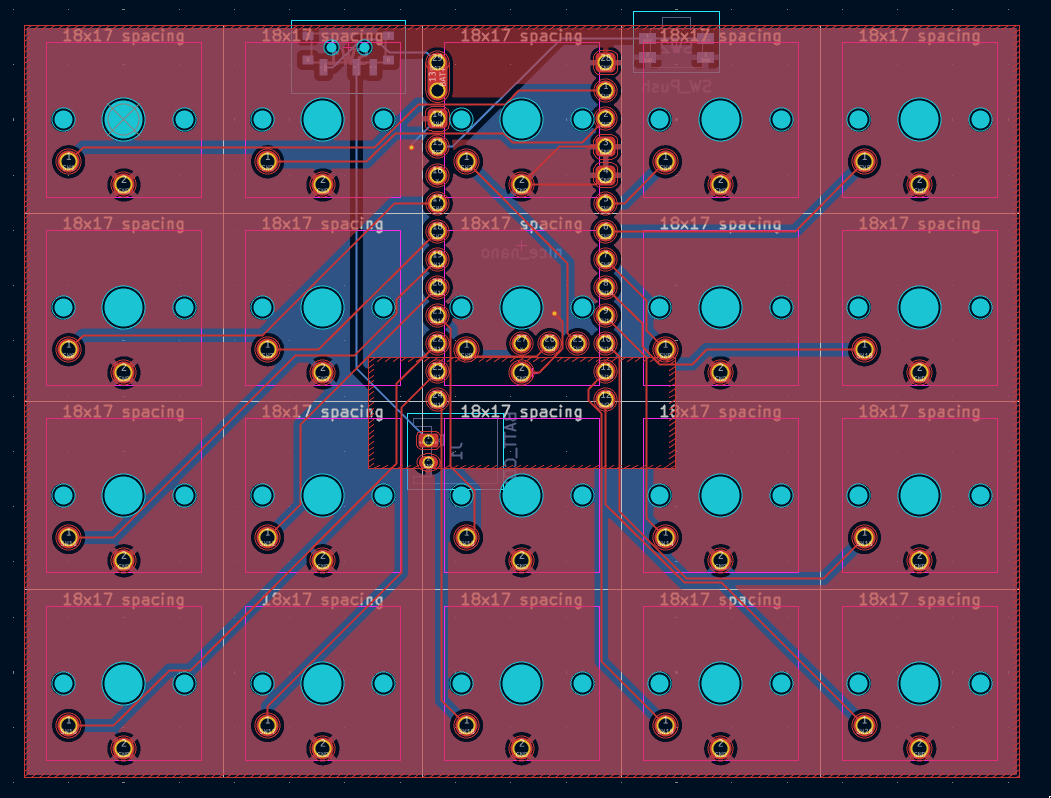
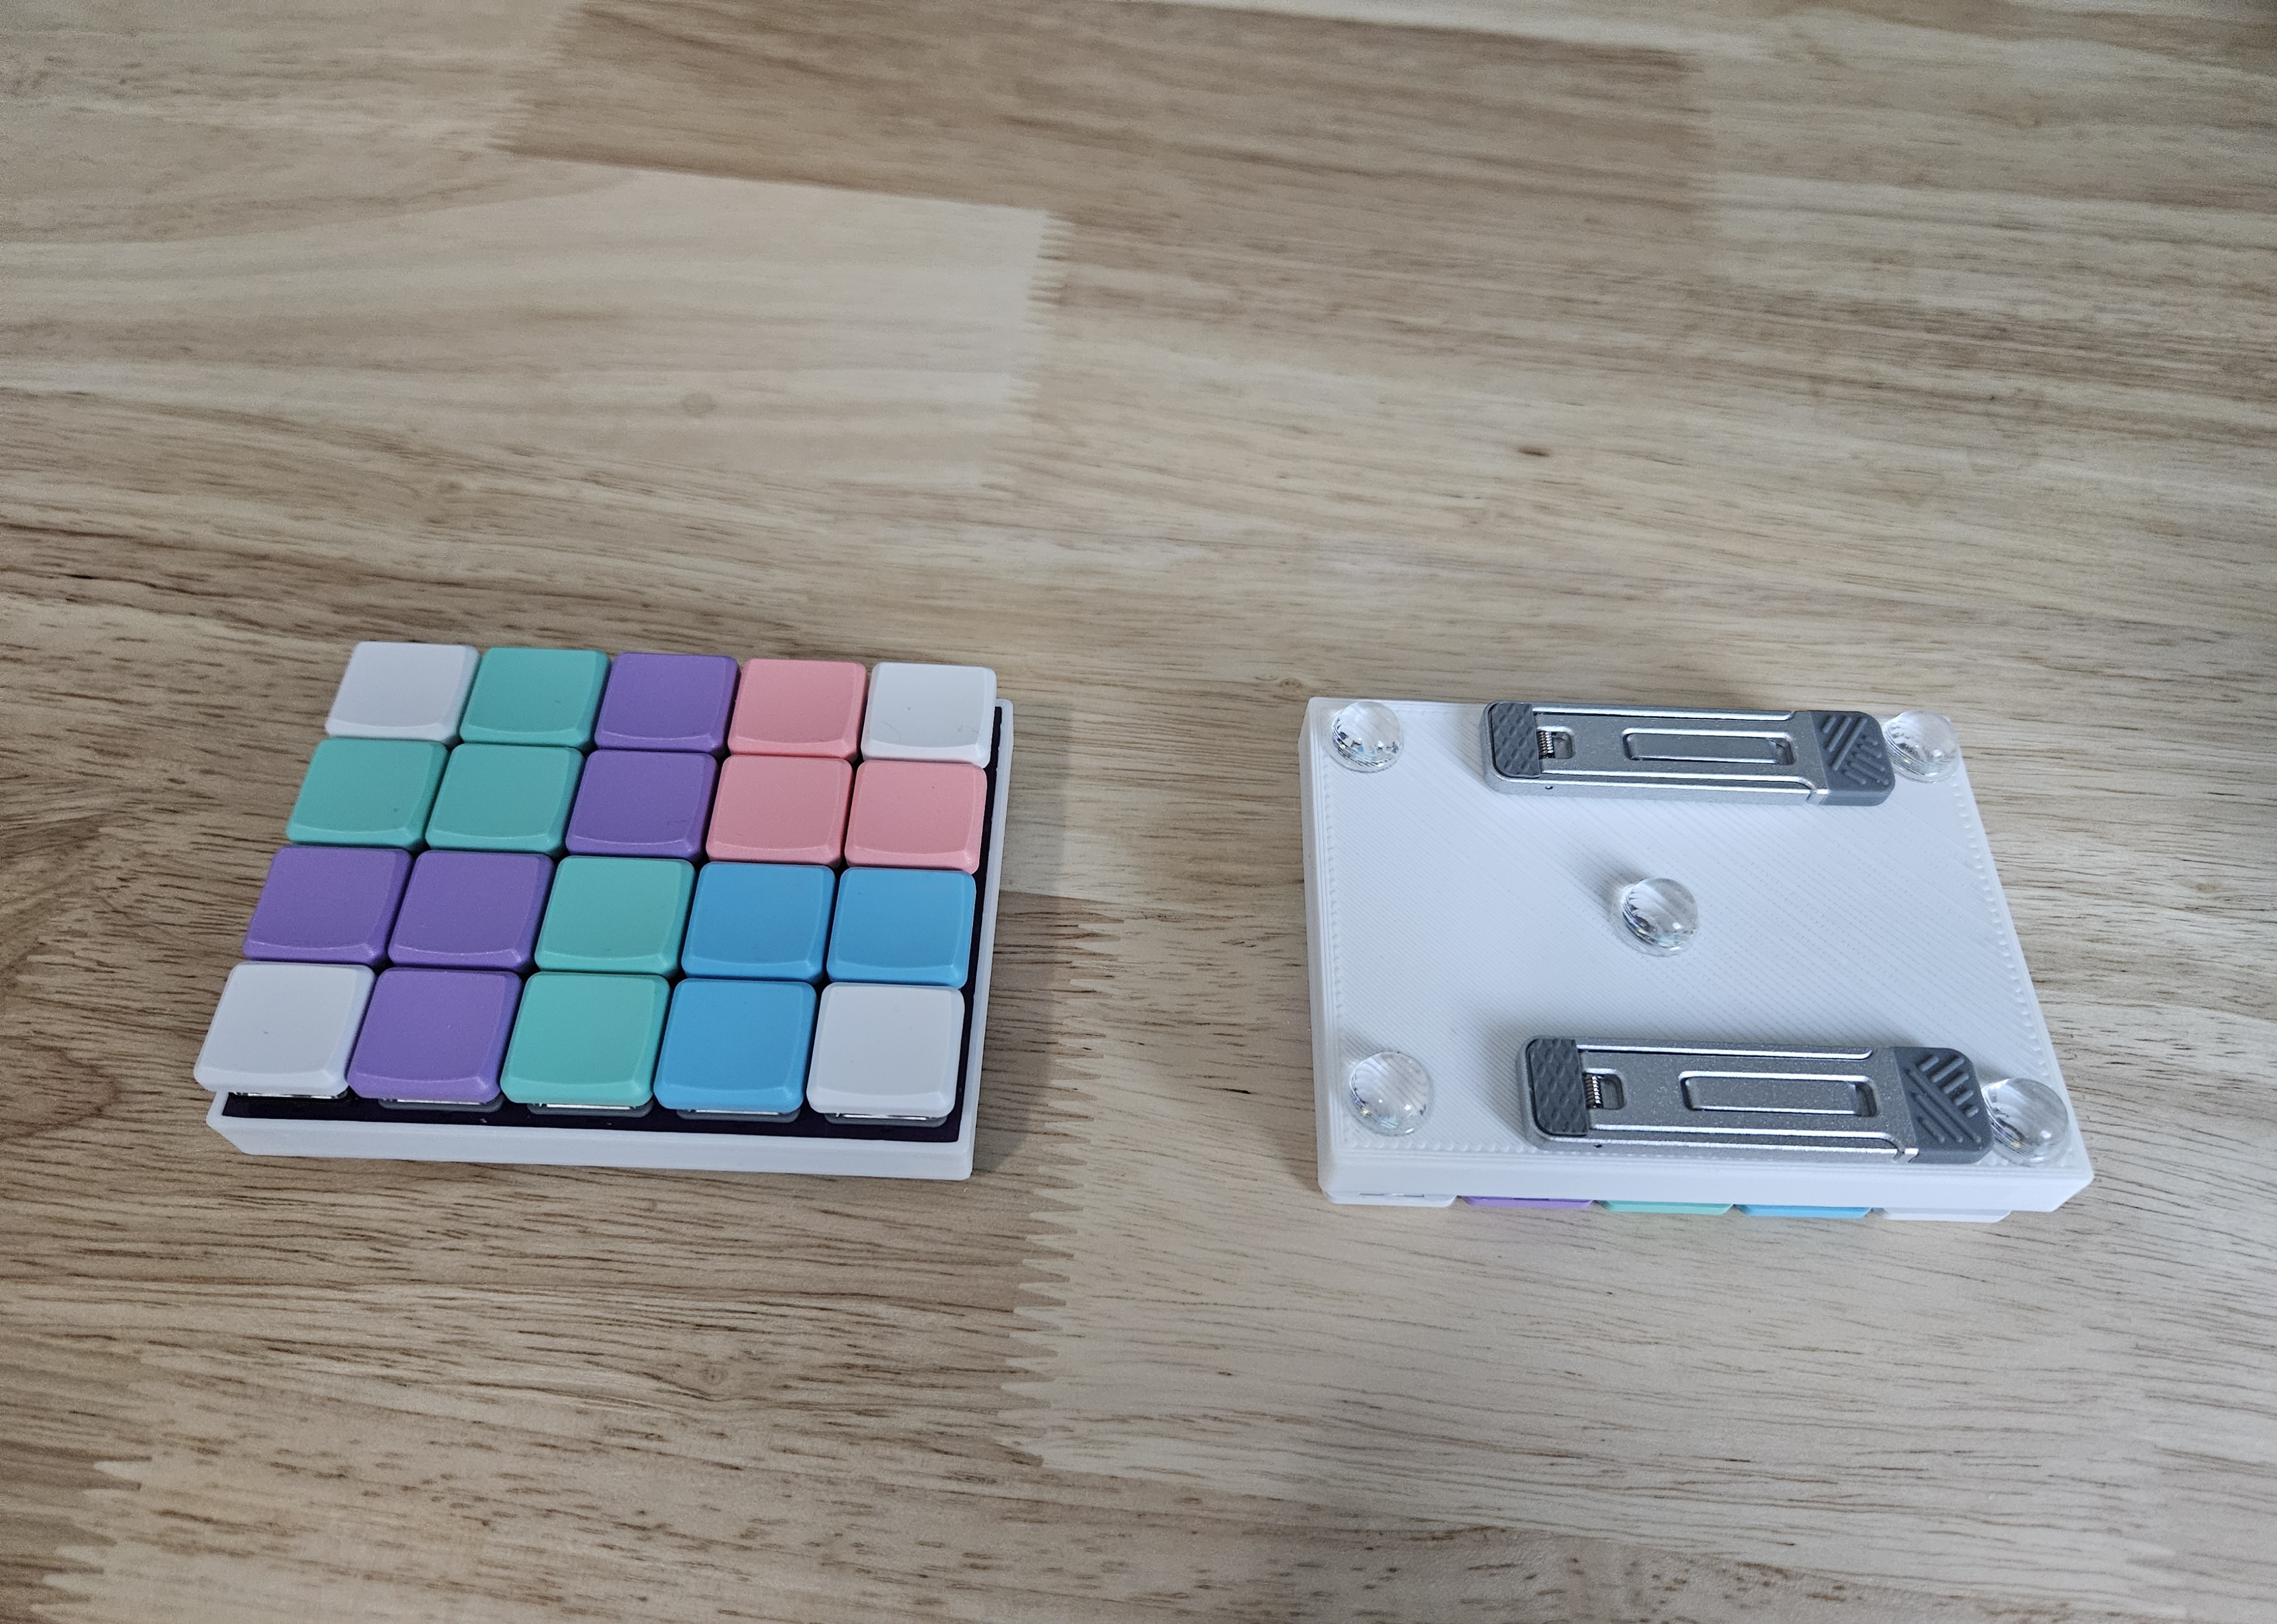
The design itself was not too interesting or different from essentially every other keyboard, although for a clean and finished look(as well as reducing space and complexity), I opted to put the microcontroller on the bottom side of the keyboard, allowing it to be hidden, as well as allowing me to use an identical PCB for both halves with no alterations between them(there is actually nothing differentiating them except for which side firmware I put on it). The footprint of the nice nano microcontroller itself had tight spacing with the surrounding keys, but ultimately it worked out better than expected. Unlike the briq keyboard, I did not design a plate or bottom standoff PCB as I could simply make a case to solve these issues, rather than relying on raw PCBs.
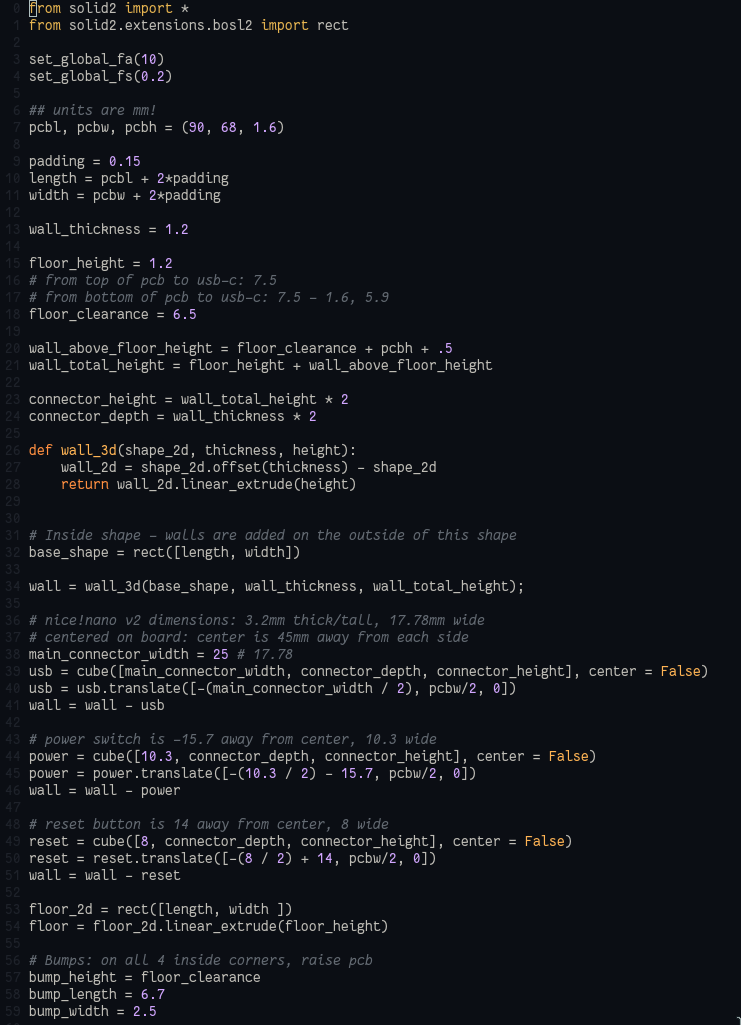
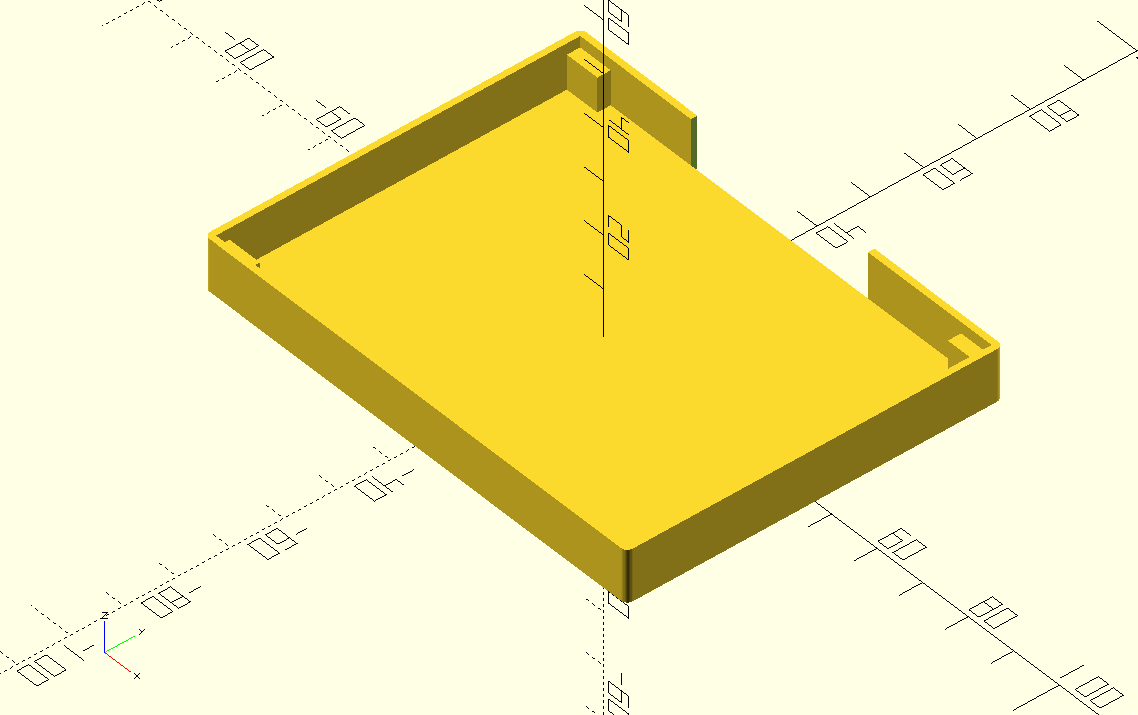
For the case, I chose to use Openscad(through SolidPython) for a few reasons. First, I believe that such an approach to CAD is really innovative and a concept that should be explored in further depth, as it holds many advantages in terms of prototypability as well as ease of use. Openscad actually shares many similarities with NixOS in terms of defining things declaratively, and comes with the many mental benefits of such an approach(see my NixOS post for further detail). In one screen of code I can visualize the entire model as well as easily make major changes during prototyping by simply changing some variables. Although those who are completely inexperienced with programming in general might find Openscad to be more difficult than other CAD softwares, it seriously has many ease-of-use benefits if you are even somewhat familiar. Personally, Openscad makes it a lot easier to design precise models, as measurements and specifications are clearly defined in variables rather than having to keep it all in a mental context. Finally, learning a traditional CAD software would be very overkill and time-intensive for me, even to design such a simple case model, and especially given the heavily proprietary nature of much CAD software, these skills would not be very transferable, while Openscad on the other hand is completely free in freedom and in beer, and the skills learned through it(e.g. learning to define complex systems in simple language) is actually extremely transferrable.
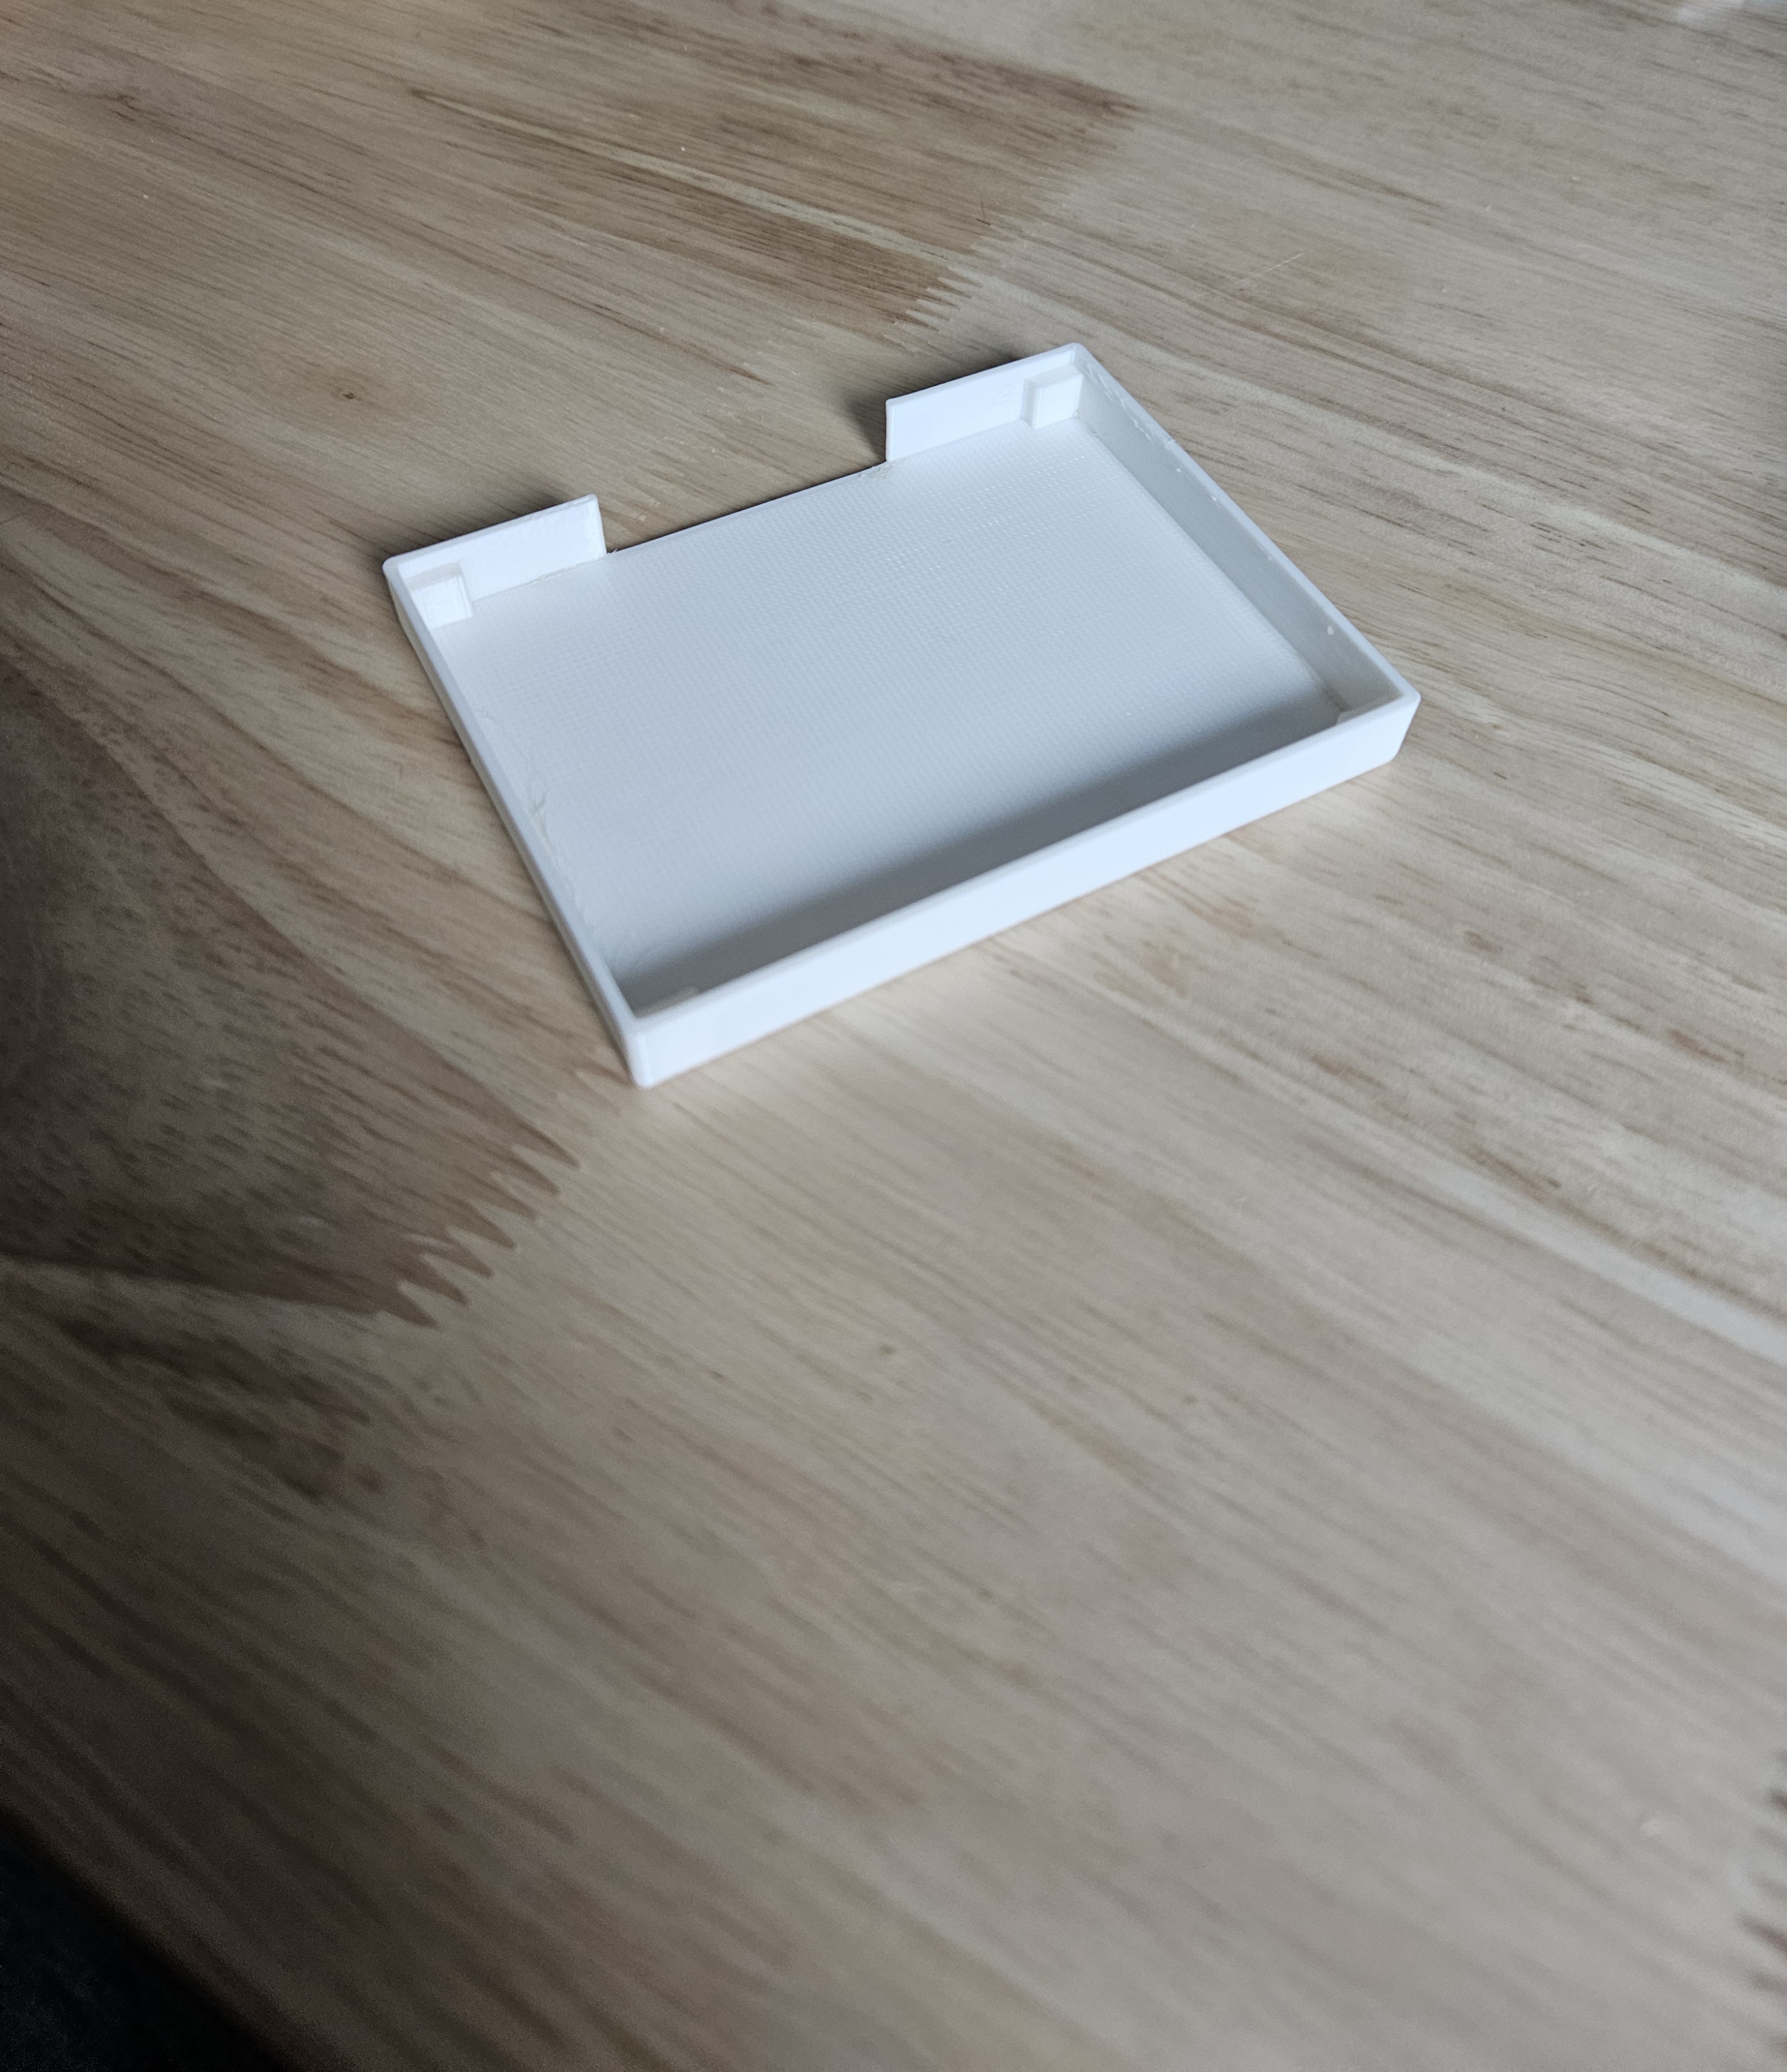
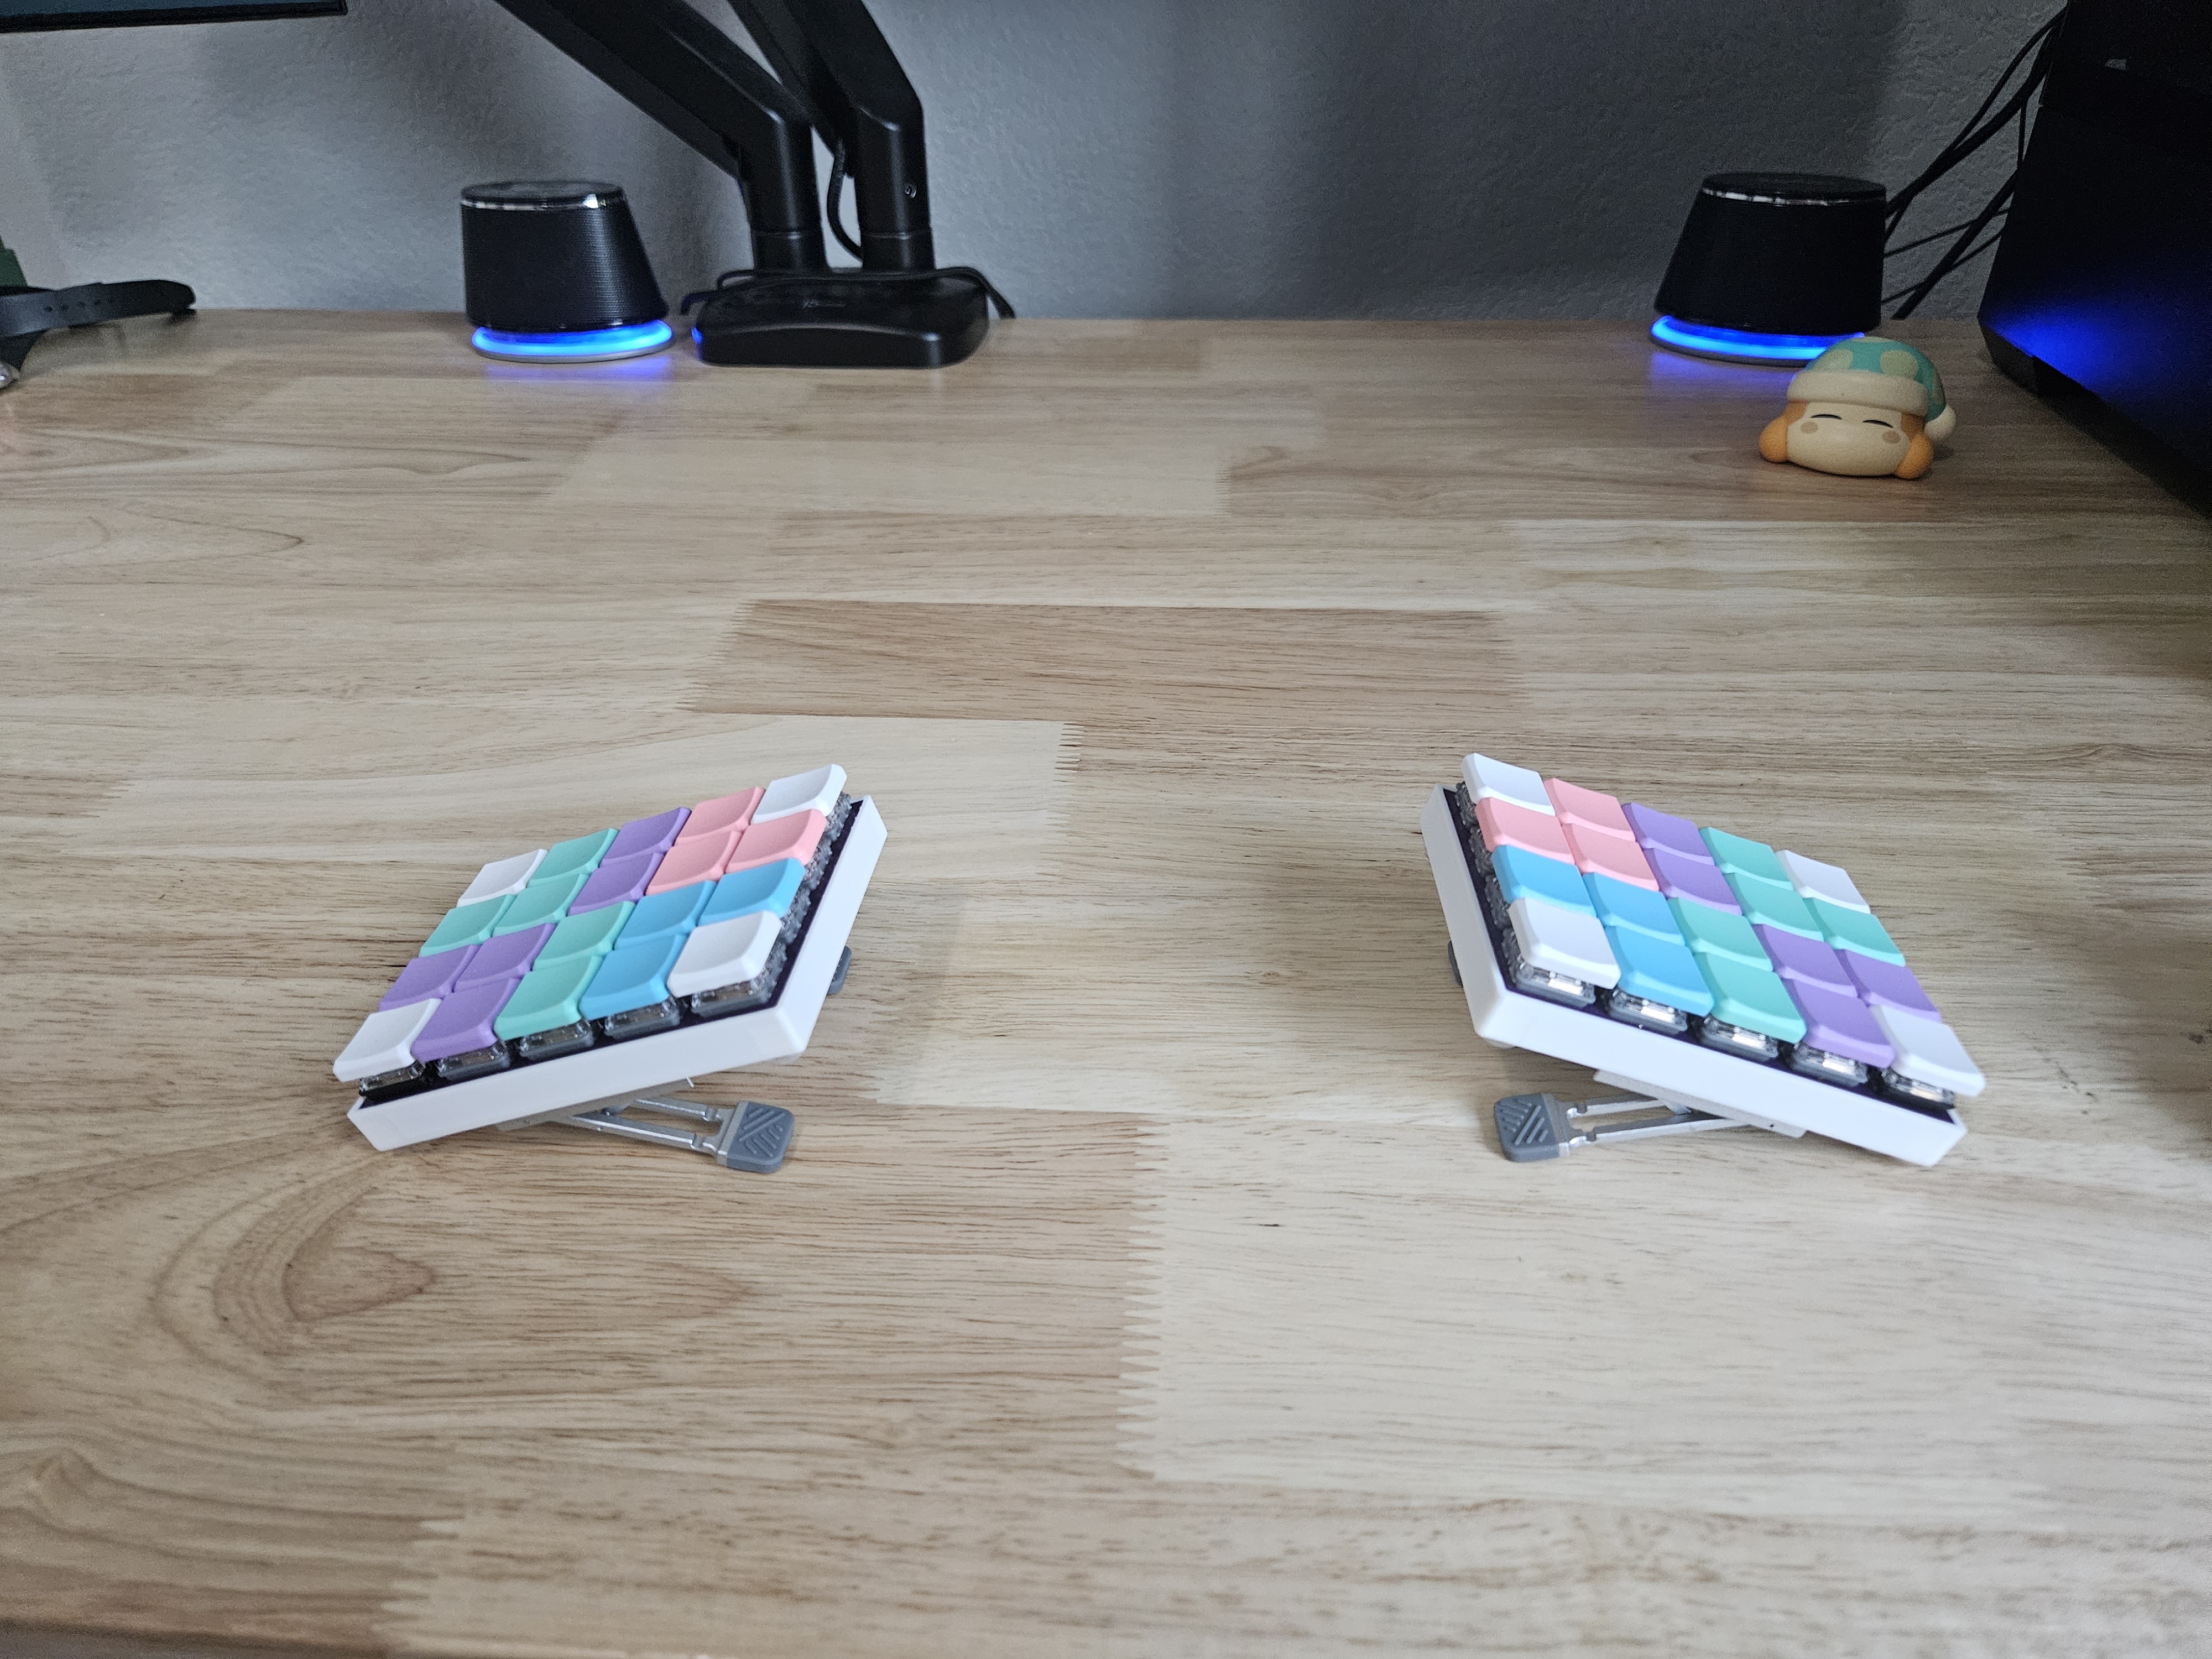
I’ve made keyboards before with no case and simply rubber bumpers on the PCB, but I felt that a case would greatly benefit this to make it a more complete and functional product, as well as aesthetically being very pleasing to have a flush and finished case. After all, adding a case would have little to no additional height added to the total keyboard but would bring about many benefits.
I also chose to forgo mounting holes or standoffs on both the PCB and the case, in the hopes of reducing complexity, and because I felt as a simpler solution would simply be to “friction fit” it(as in print the case with little extra room and squeeze the PCB in).
I have used ZMK recently for a minor project, but this has been the first time that I really fully set it up myself and was able to see the benefits over software such as QMK. The design and philosophy of ZMK for ease-of-use as well as a from-scratch modern codebase optimized for what matters(e.g. one focus of ZMK is battery life) really appealed to me, and I can’t imagine using other softwares for any future keyboards.
Some of the terms it uses can be confusing at times(modules, dtsi, defconfig, devicetree) can be confusing at first, but once you understand them abstractly, it is very easy to work with and modify for your specific needs.
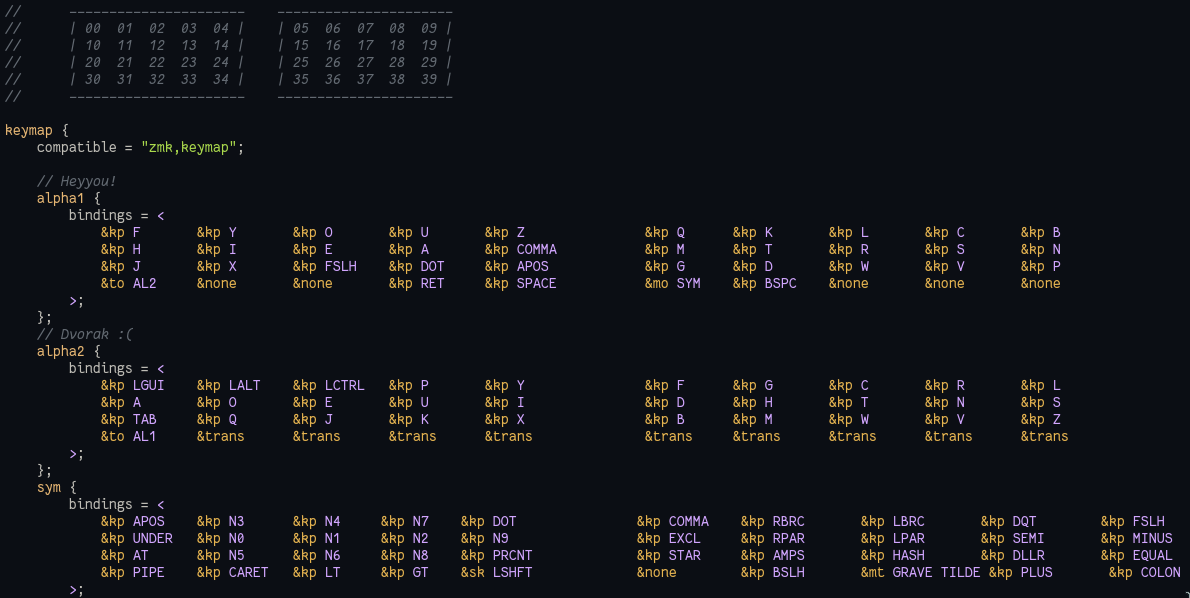
Keymap-wise, I have used Dvorak for multiple years now, but have recently started learning and shifting to better designed alternate layouts, and am currently learning the Heyyou layout by ClemenPine(this is relatively obscure). My main goal with the 5x4 layout of the keyboard was to have a standard and interchangable 30 key layout on the top three rows(no number row!), and to use the bottom row for space, enter, etc. as well as layer switches. I have found that personally from my Iris keymap, relegating common symbols to a seperate layer accessible on an easy thumb-key was very comfortable and practical, so I replicated that here. I plan on adding a system or function layer soon with common utility keys or macros, as I have seen this approach work well on many other keyboards.
Shopping list
A basic rundown of everything that I bought for this keyboard, all on typeractive.xyz:
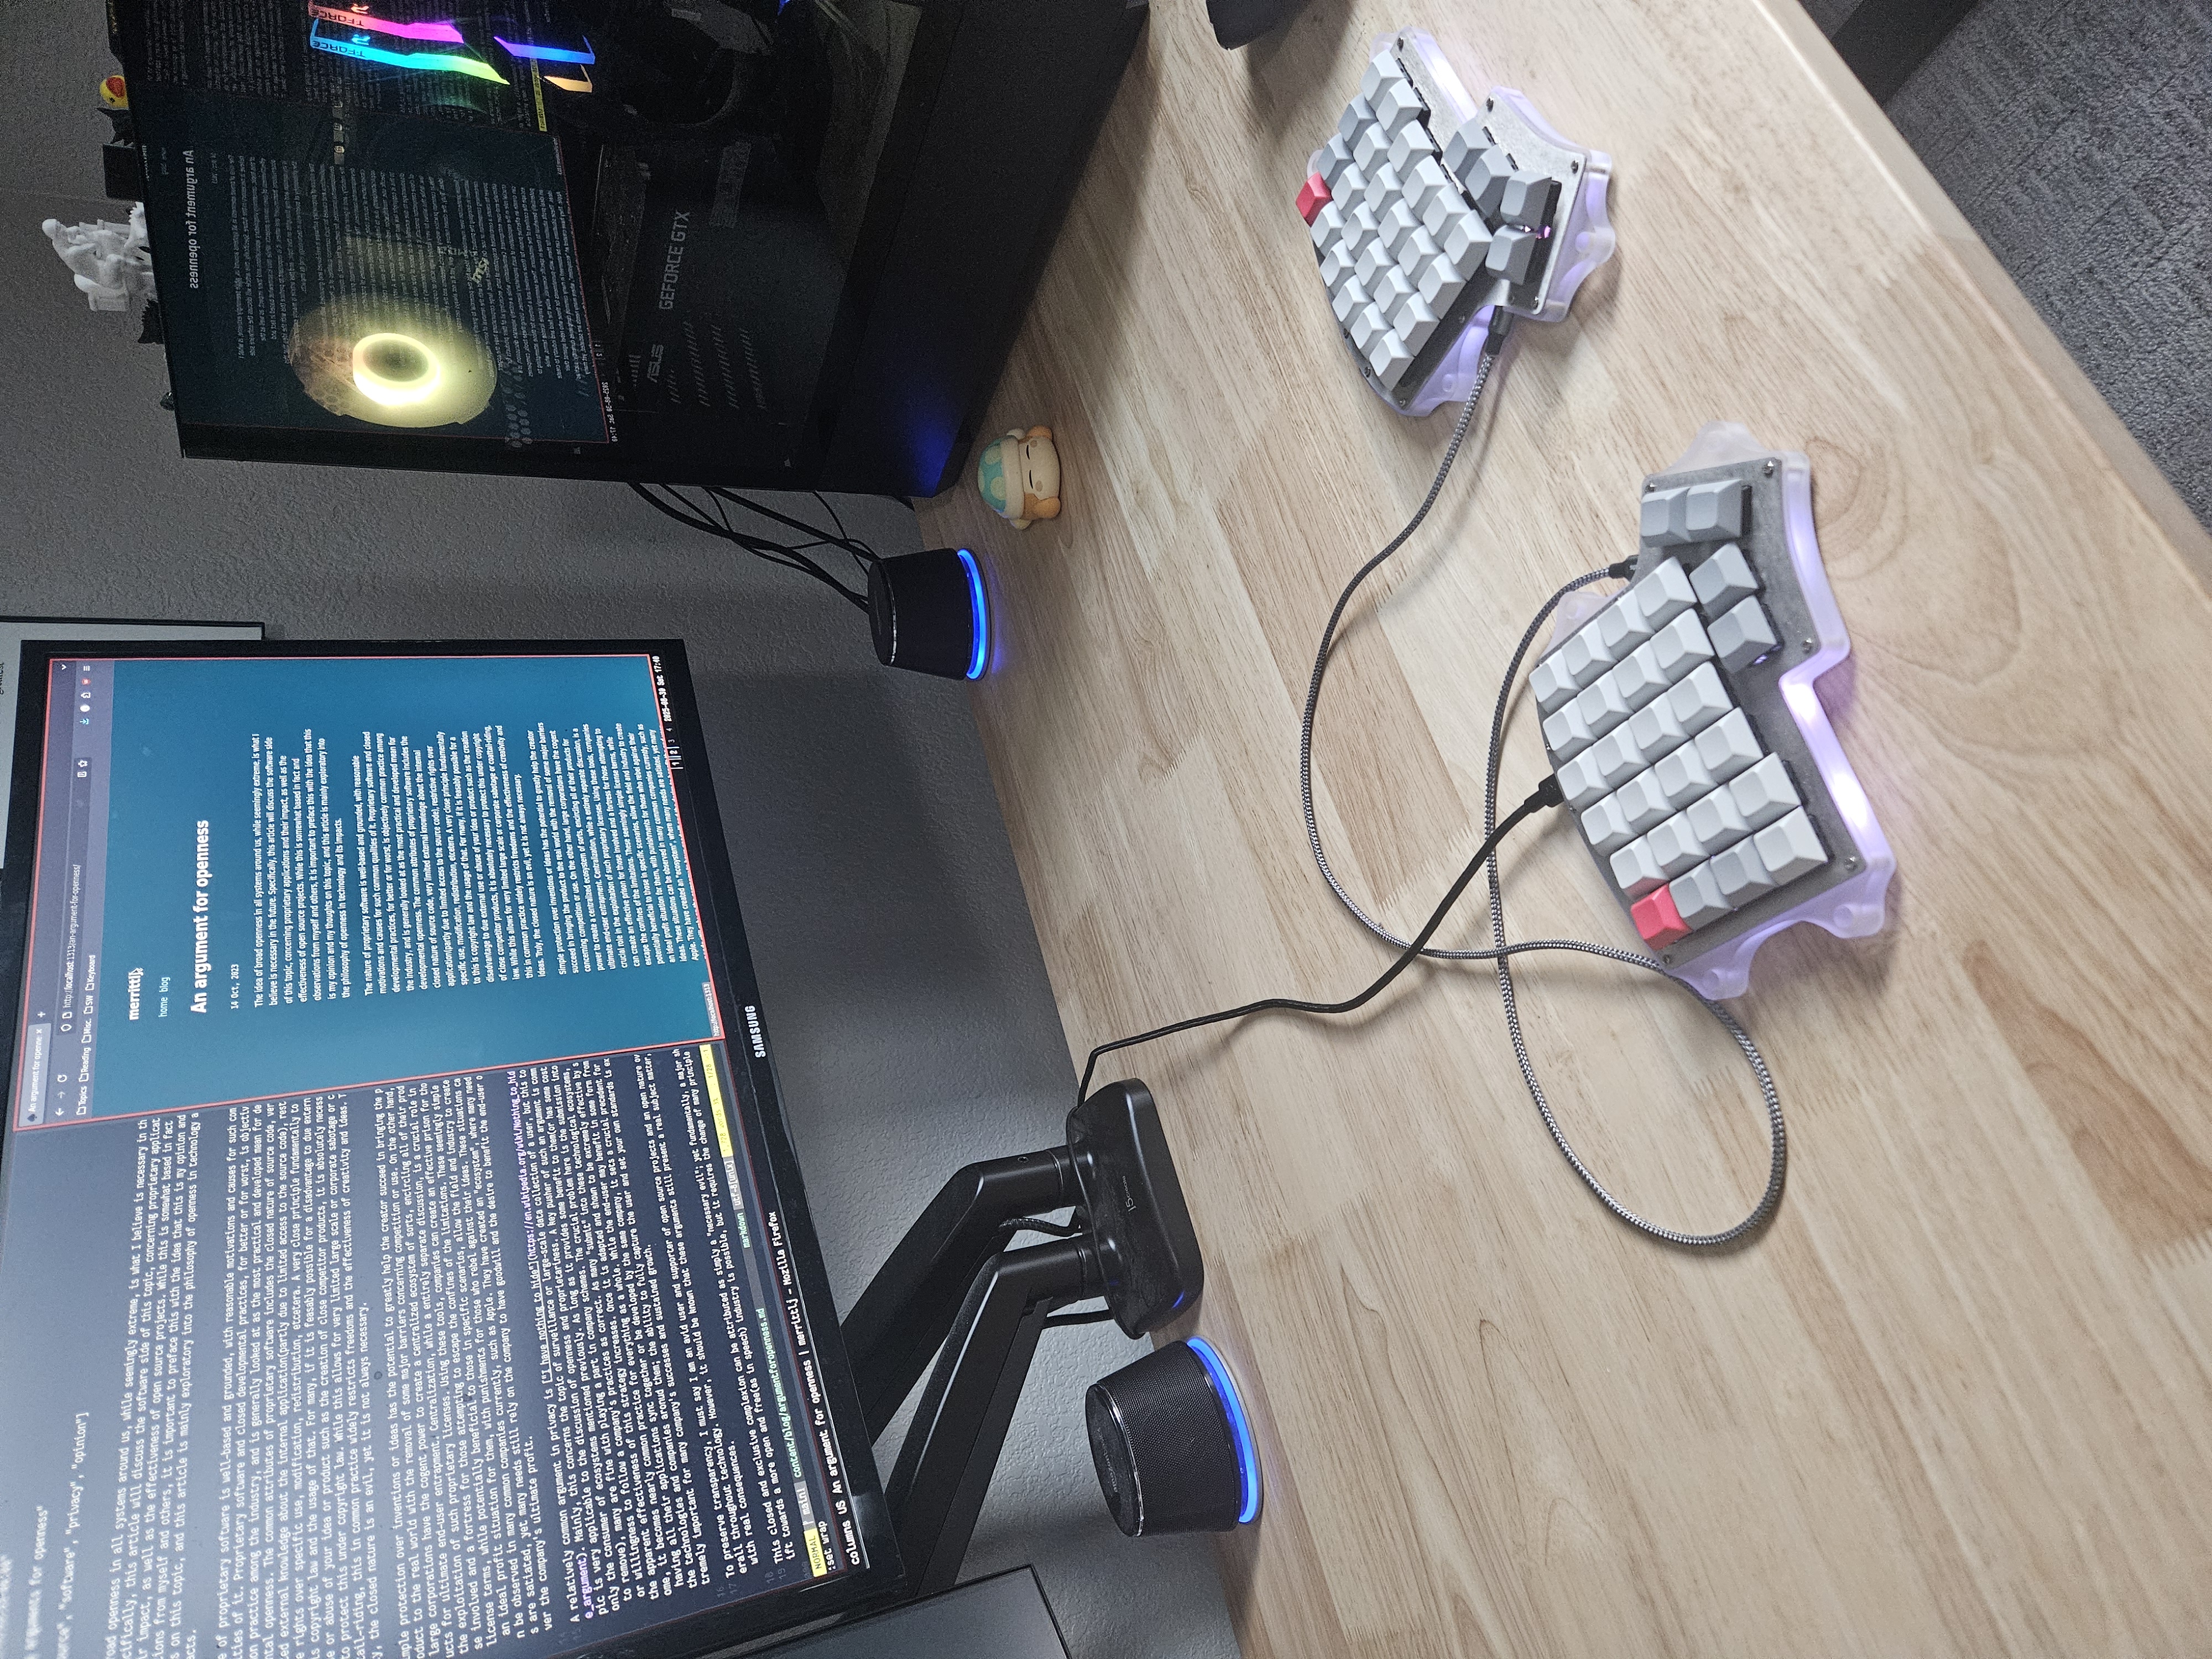
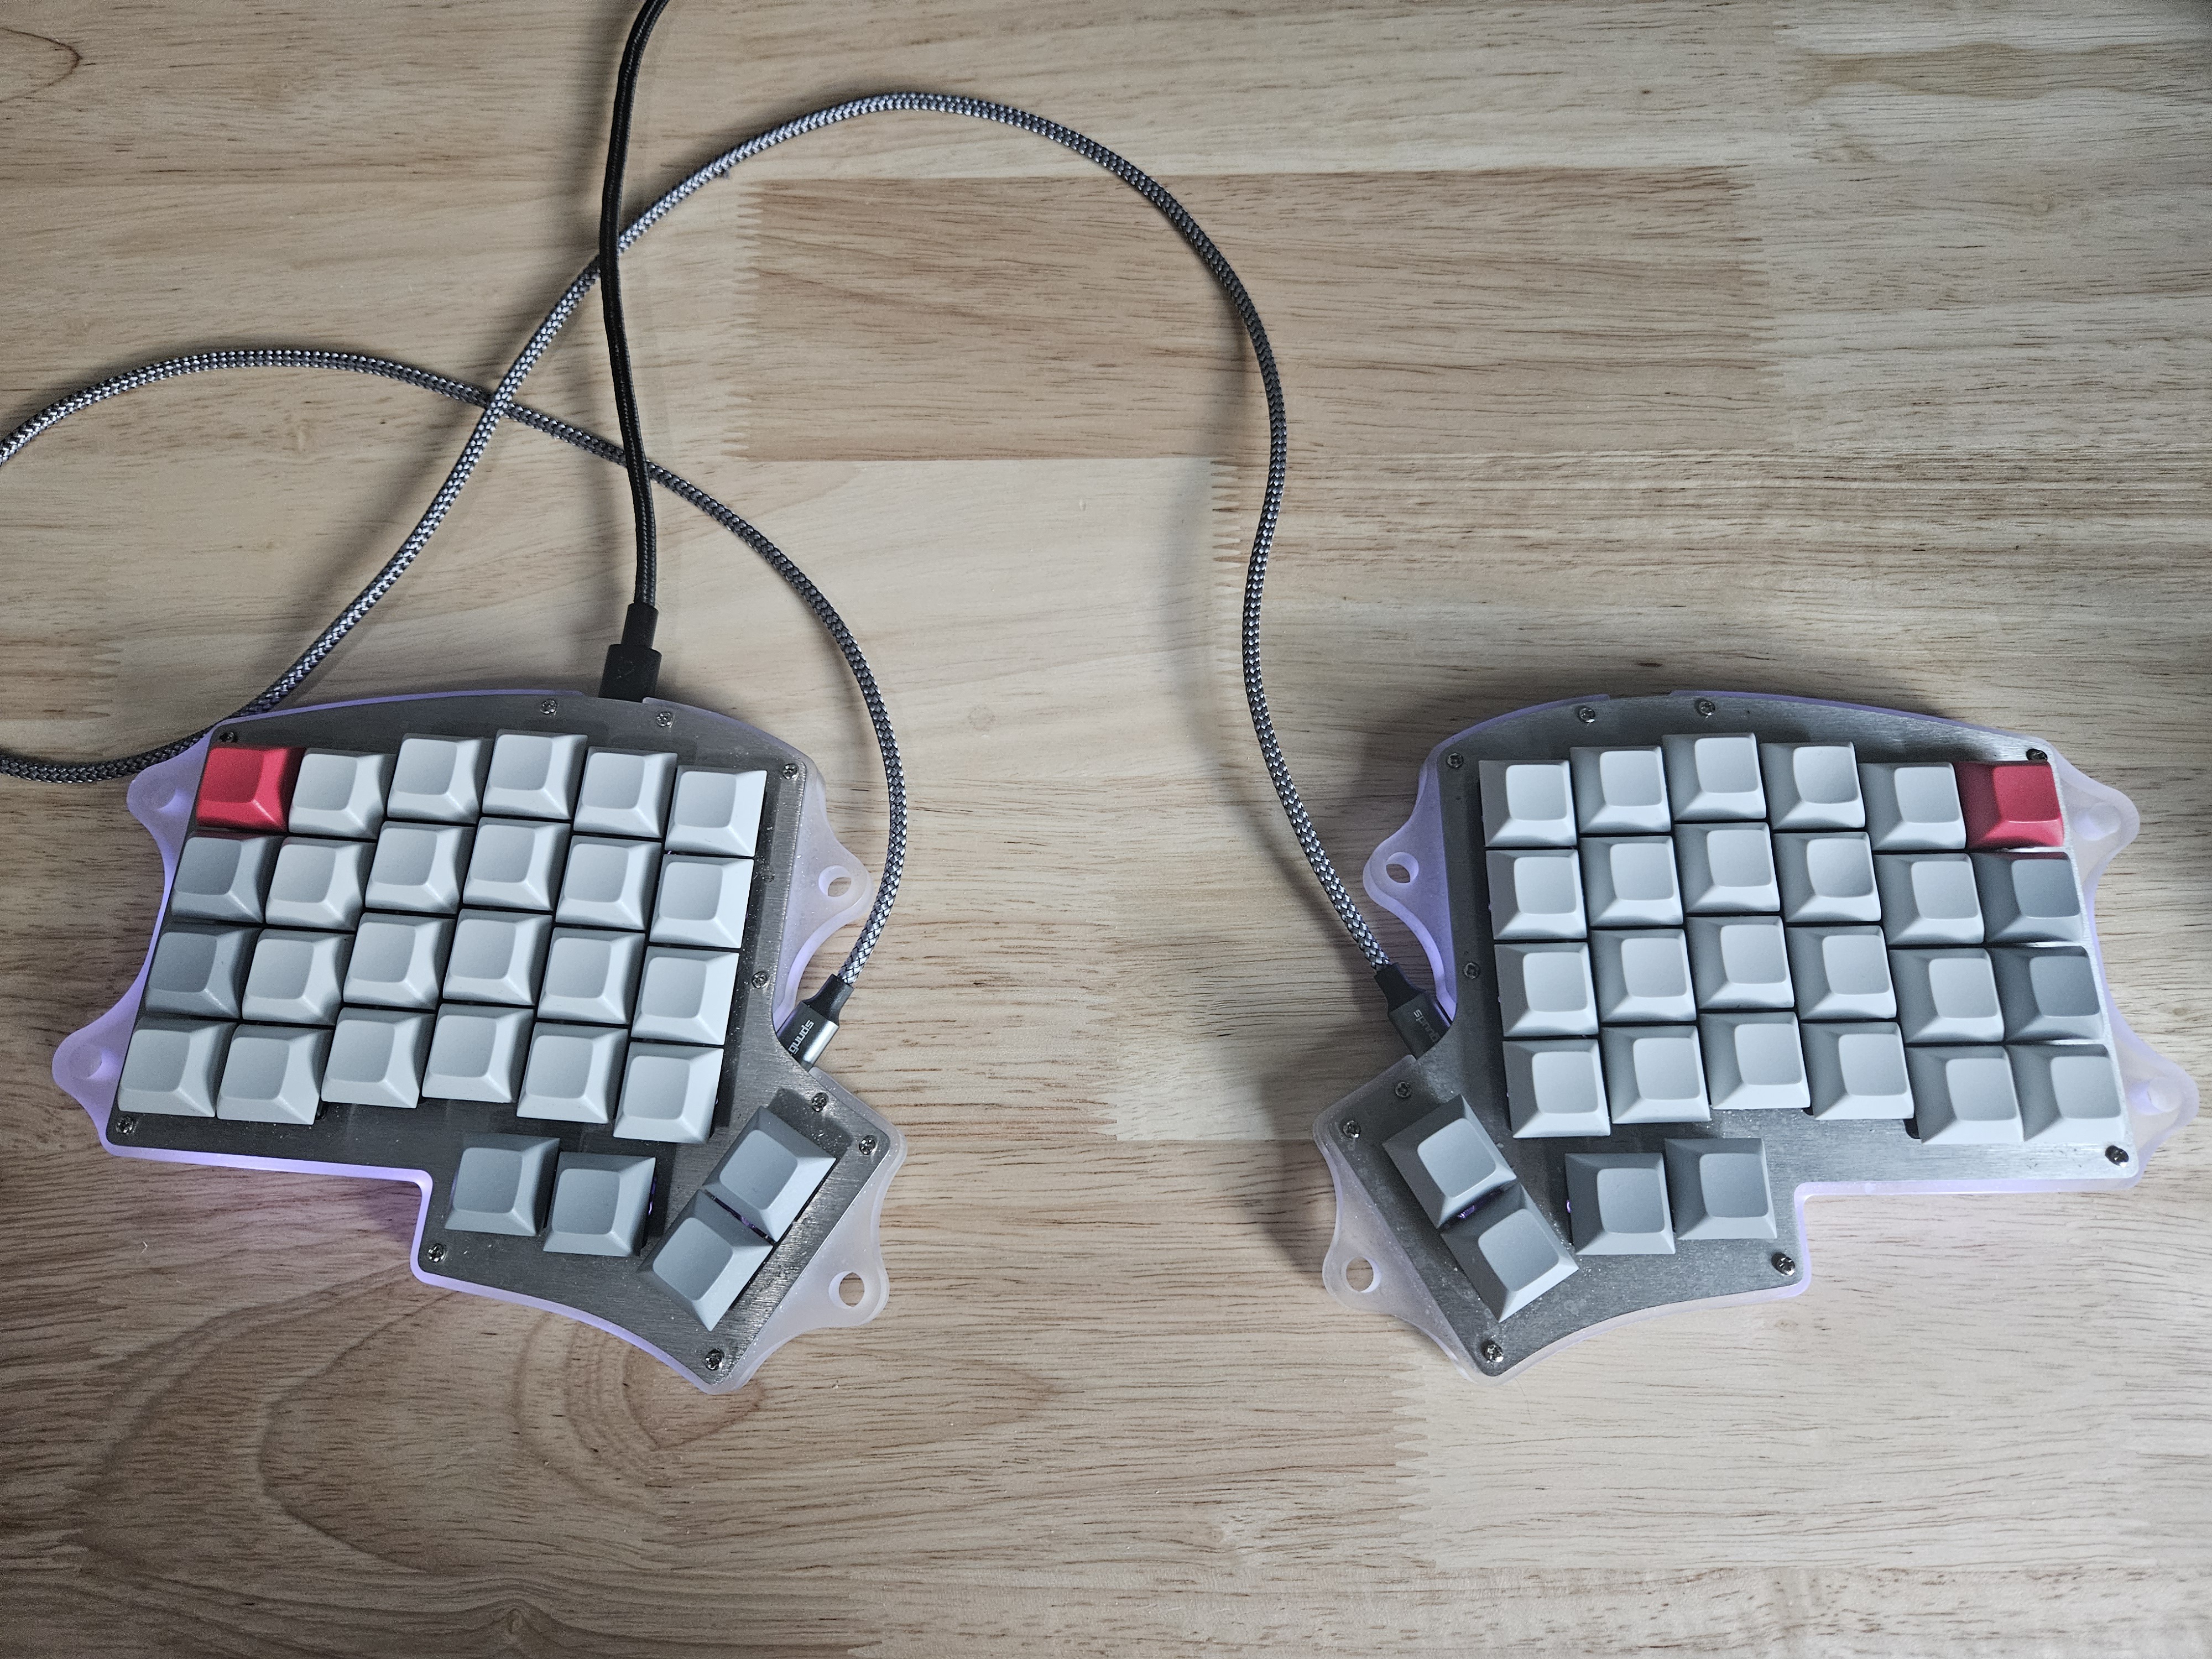

 Click to open image gallery